
A Modern Flower Painting in 10 Simple Steps
If you know me, you know I LOVE painting flowers. They are beautiful, colorful, full of texture, pattern, and come in every shape and size imaginable. They are also extremely versatile for design. Flowers don't just have to be for your grandmother anymore (though my grandmother has two very lovely floral print couches). In this day and age of thrift store boutiques and eccelectic style, flowers find a perfect place in the homes of hipsters, fashionistas, young couples, and interior designers.
Flowers can add a calming touch or a bold statement depending on their painted style. So, join me, and let's reclaim the flower for the modern age and create a piece that will stand out, add beauty, and perfectly compliment your style-no matter how modern or traditional your home may be.
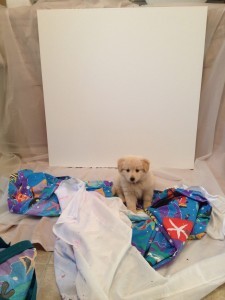
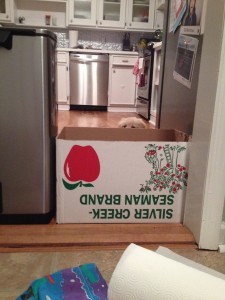
Step 1: Get an adorable puppy. Place in front of canvas.
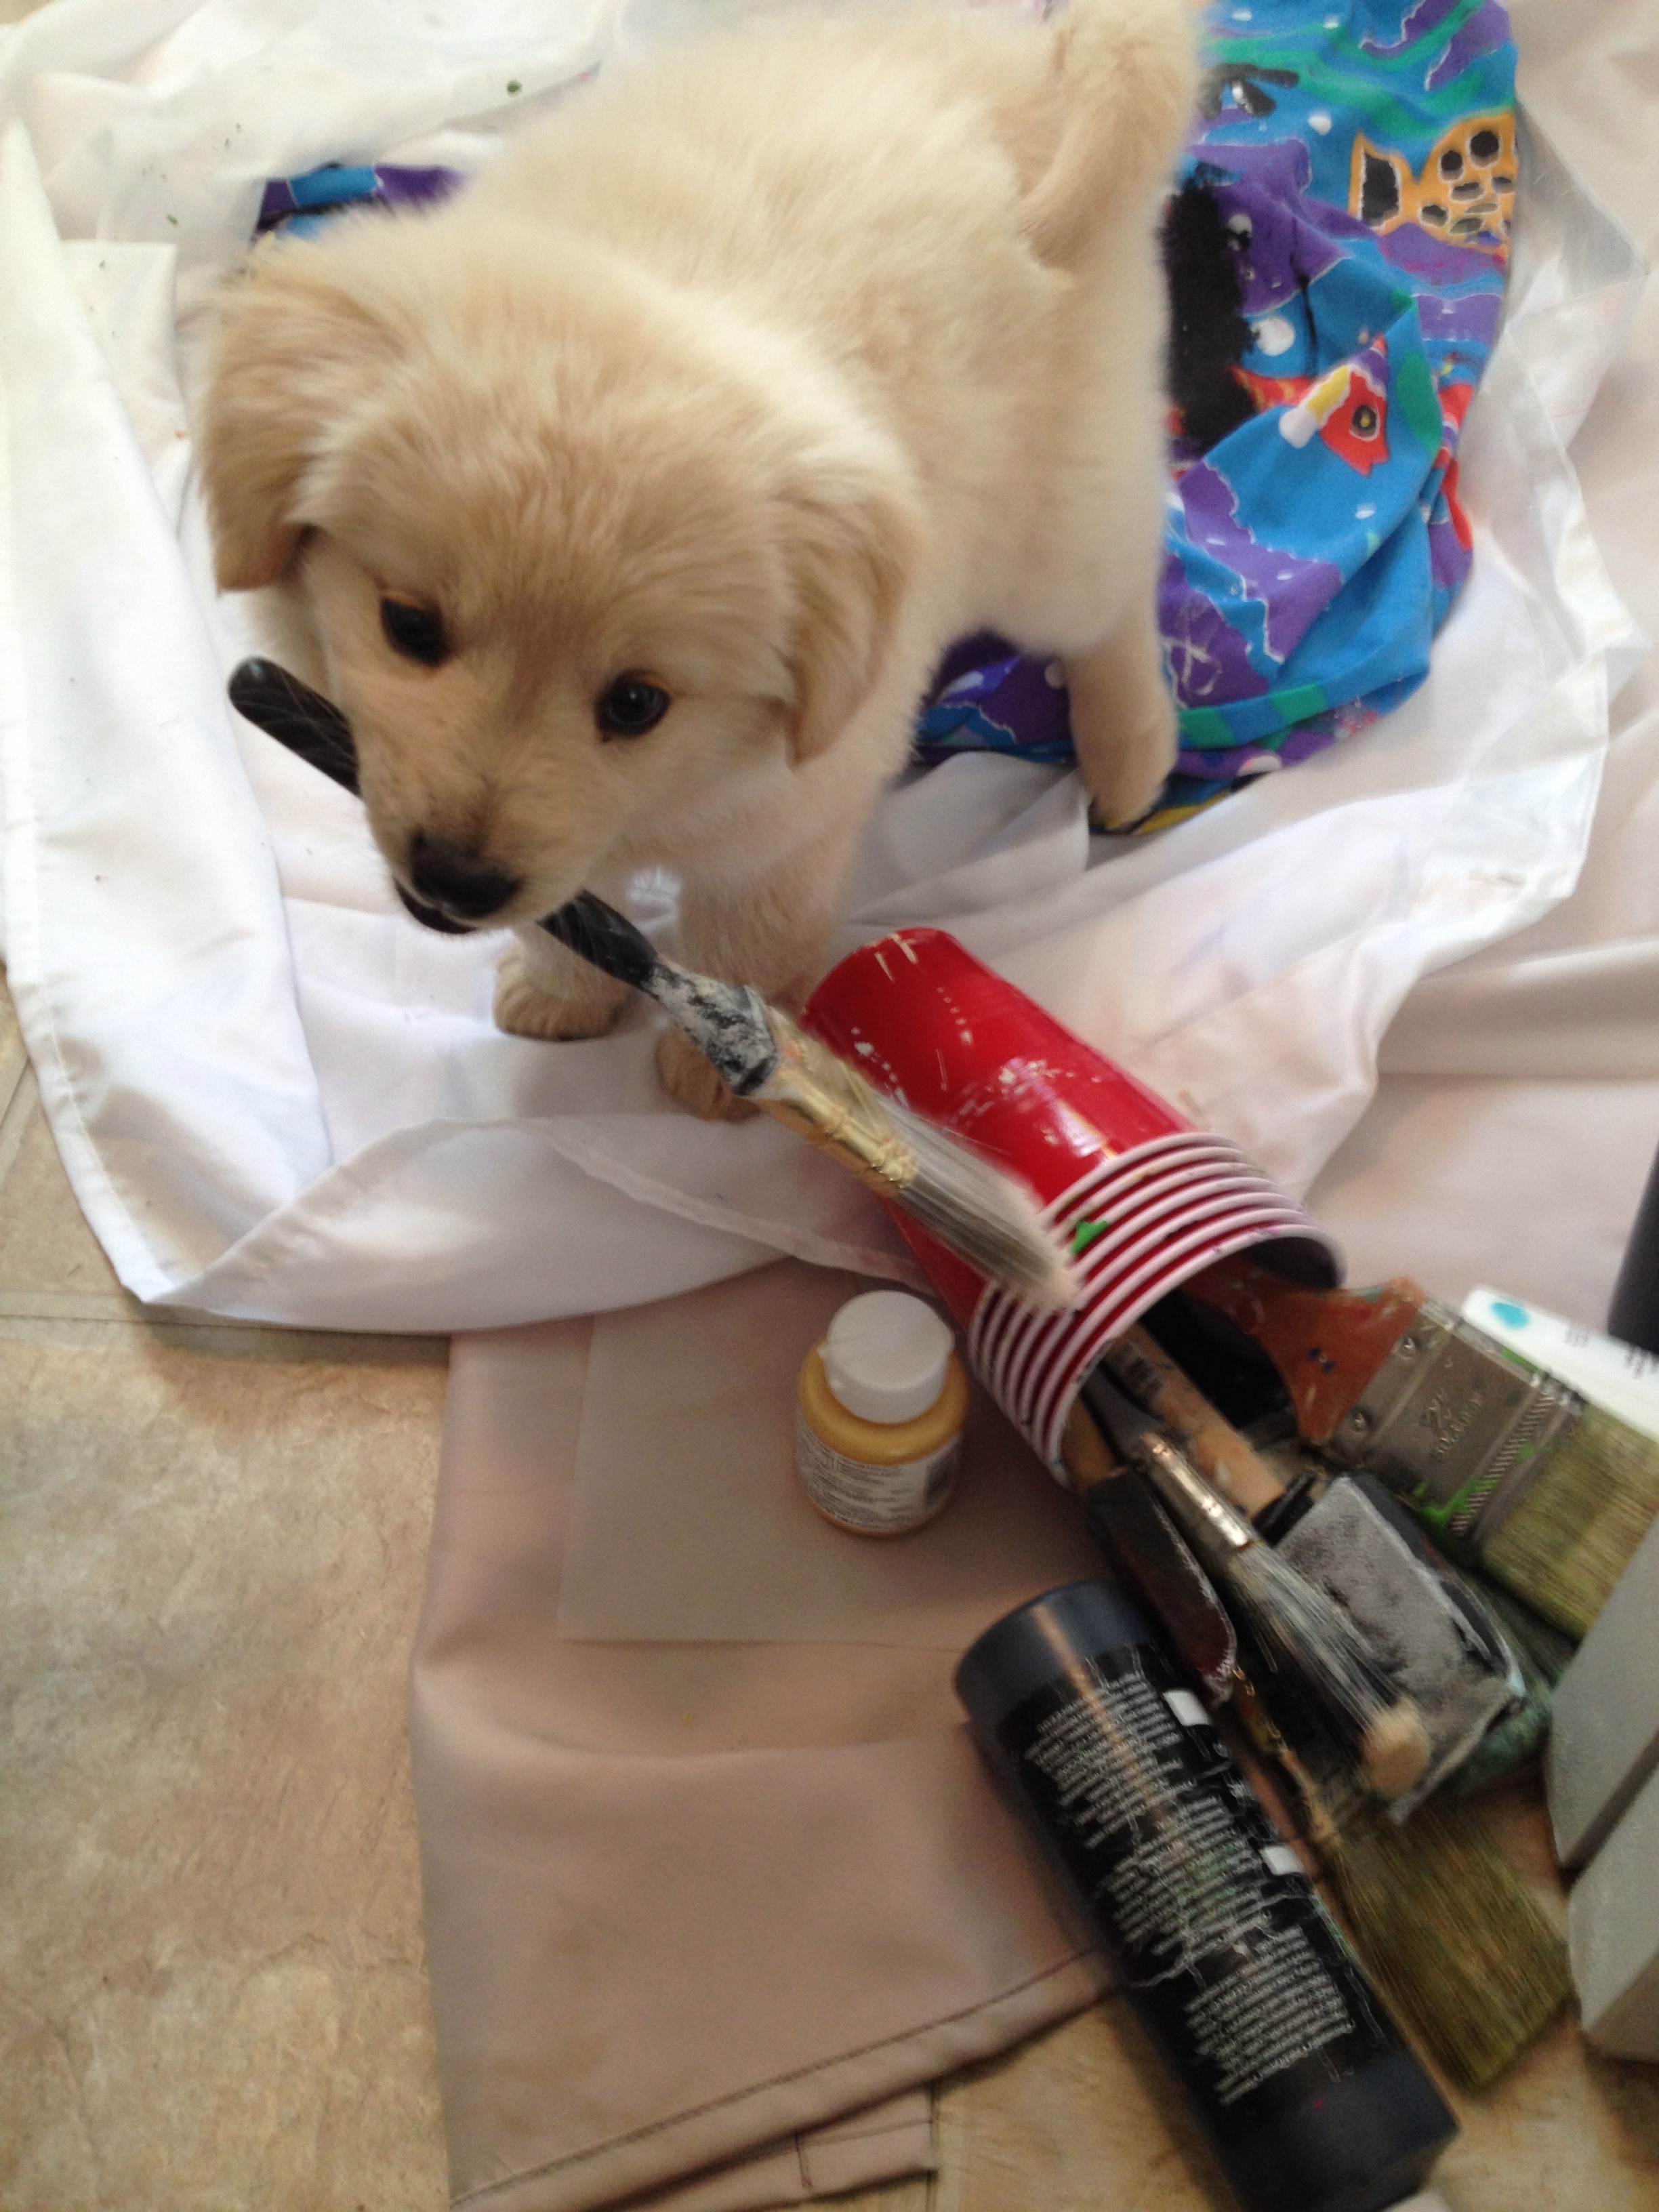
Step 2: Ward off puppy from trying to take over the studio.
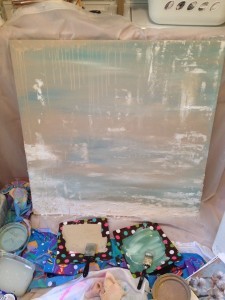
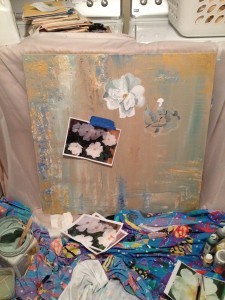
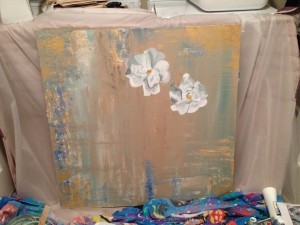
Step 3: Let your background set the mood! I suggest picking two dominant colors. I choose khaki and sea foam green below. Fade the colors into each other with a couple of big brushes. See what happens when you add water and let the paint drip down the canvas. Let dry, turn the canvas, and drip again. Patience is key so it dries properly (I'm bad at this..but luckily I have laundry to amuse me while it dries).
Add in variants of your two dominant colors. I started putting in a darker blue (part of my green mixture).
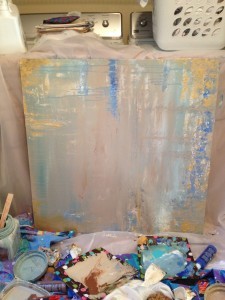
I also added texture with spackling paste. I love this stuff and you probably have some lying around the house somewhere. It really creates depth and a rich modern look. You can simply use a palette knife (or even a butter knife) to spread it on the canvas.
Step 4: Frame in your picture (with paint). Use paint to draw the eye to the center of your piece. I used an Iridescent Bright Gold by Liquitex. It came in a small bottle, but a little goes a long way.
You don't want this "frame" to be a perfect border. You just want to draw the eye in and add some more texture and depth to the painting. In the picture below you can see I added 'veins' of colors dripping and reaching towards the center.
Step 5: Take a close look at your canvas. Grady is demonstrating below. Unfortunately after the paint brush take over I had to put him out of the studio.
But seriously, take a close look at your canvas and choose which way you want the canvas to go. I turned mine sideways a lot to get drip effects. I didn't start painting with an up or down in mind. Once I finished with the background, I decided which way I liked the best. This obviously is easier with a square canvas. If you have a rectangular canvas you may be more restricted to either a horizontal or a vertical hanging situation.

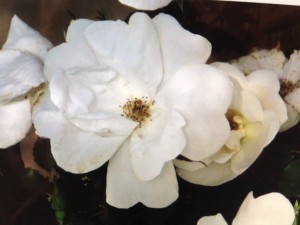
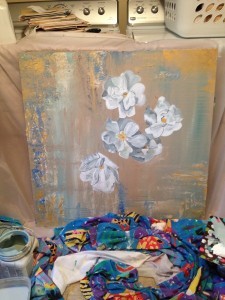
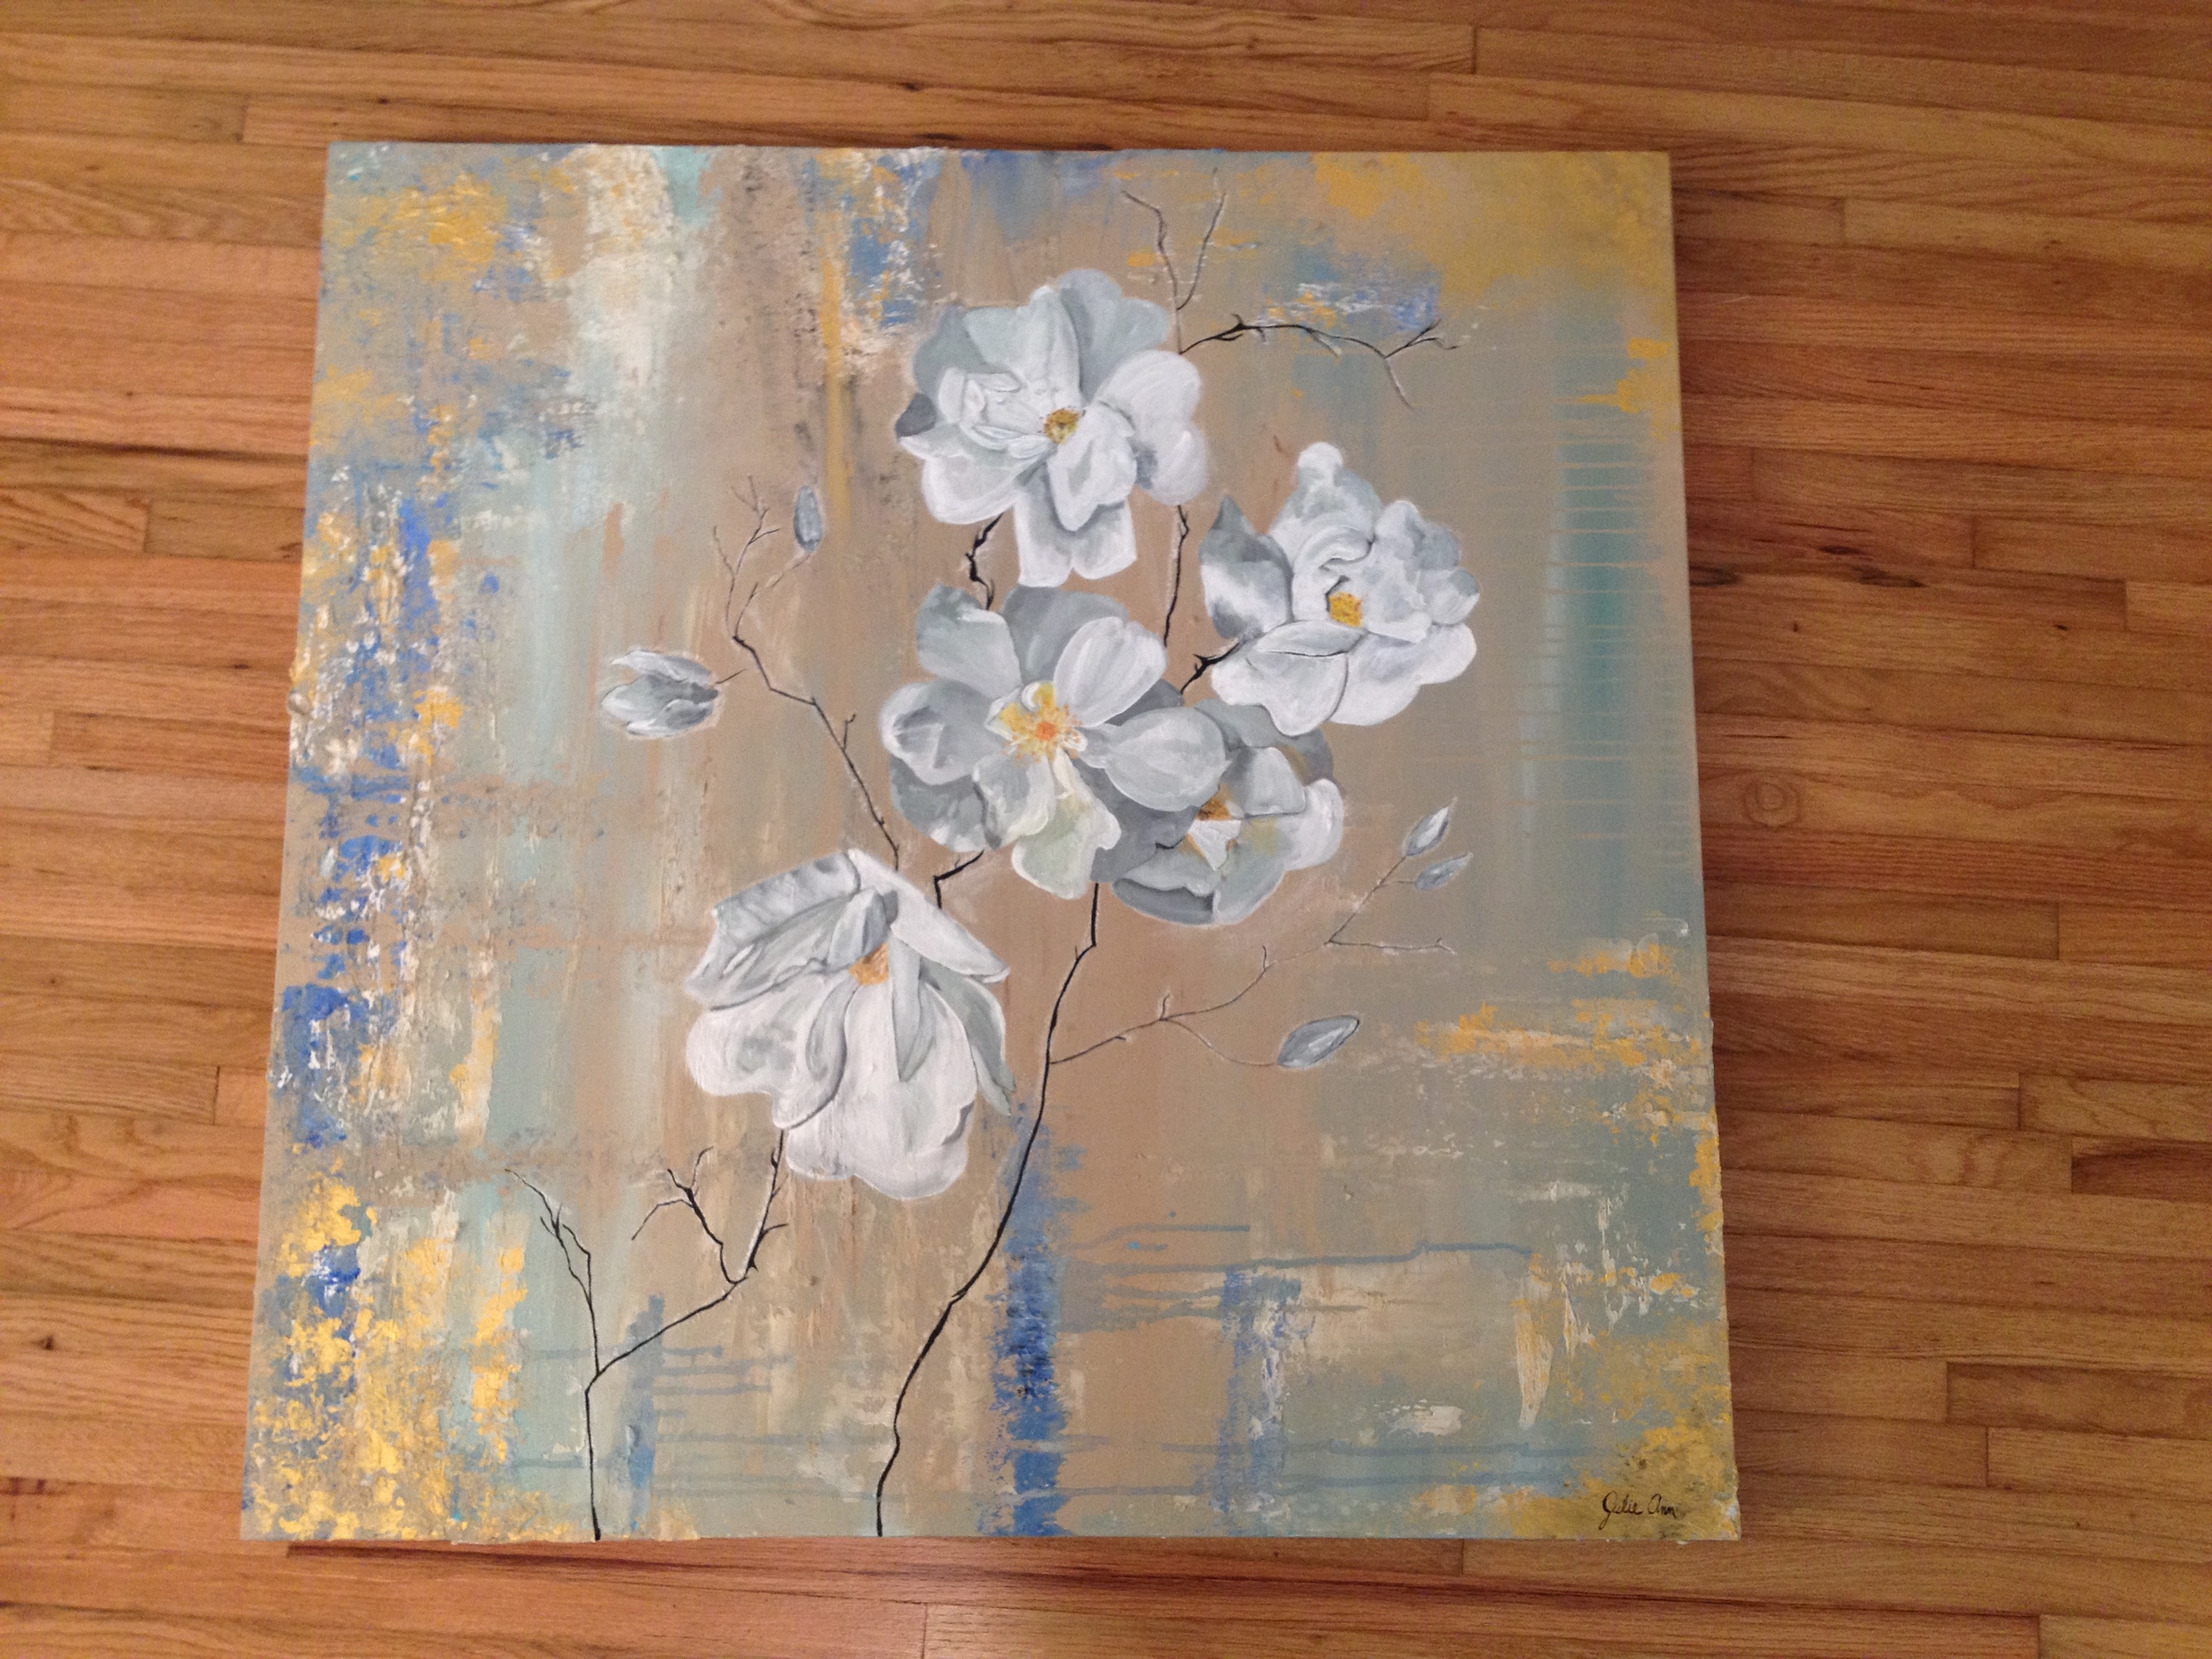
Step 6: Choose your flower (and/or subject matter). This doesn't have to be a modern flower painting. You could paint a bicycle, an animal, or just about anything! I choose white carpet roses (I have also heard them called Flower Carpet White Groundcover Rose--that's a mouth full). I had taken some pictures at Pike Nurseries, a garden center in Cumming, GA. I used the pictures as my models.
Step 7: Layout your picture. This step happens very close to step 6. Because the type of subject you choose will lend itself to a particular layout. This is the interior design portion of the painting world. It's like creating a really eye appealing bookshelf display. I knew I wanted several flowers, but I needed to put them in a way that was pleasing to the eye and drew the viewers to the painting and not away from it.
You have to find a balance of the right number of flowers and the right amount of white space between them. Look at nature for inspiration! God is the most talented painter!! : ) I use white chalk to help me layout my pictures. It is easier to erase than pencil marks and it really helps me get a good visual on my layout.
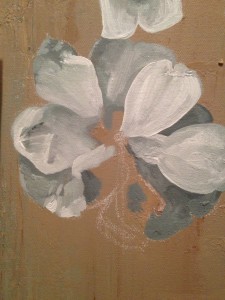
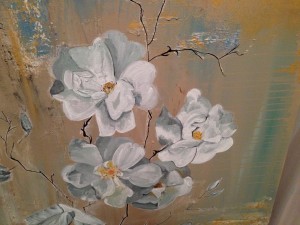
Step 8: Connect your flowers. I laid out the modern vine in chalk below. This vine is not what the flower branches look like in real life..but that's the joy of painting! Once you are happy with the vine, go ahead and paint it.
I used a simple thin black line because I wanted to keep the flowers the focus and maintain a clean modern look. 

Step 9: Sign your name! Your painting is complete.
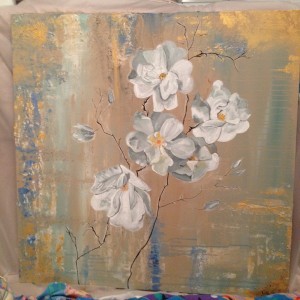
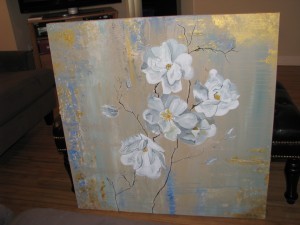
Step 10: Deliver your painting. This was a painting for my clients' living room. I love seeing it hanging up!
