
How to Create an Abstract Painting
Here is another fun, and surprisingly easy, "How-to" for you to try: "How to Create an Abstract Painting." I just delivered this dramatic abstract zig zag painting to a bride-to-be who wanted a custom painting for her and her future husband's new home. I believe there is probably a tutorial on something very similar floating around Pinterest, but I am going to give you the steps I took in creating this specific one for her. She had given me several inspiration pictures to create from, and I was able to combine a few designs into one!
Step One: Her Notes. My client sent me great notes on the colors that she wanted which included orange/rust, brown, turquoise and some shades of blue. I was able to check out her registry at Kohls and take a look at the pillows and place settings she had chosen because several of her colors were in those items. She also had this incredible verse she wanted subtly included in the painting: Lamentations 3:22-23 "The steadfast love of the Lord never ceases; his mercies never come to an end; they are new every morning; great is your faithfulness." Finally she sent me several pictures of abstract art that she loved. Her top two including a painting with an Ikat pattern. (If you are unfamiliar with Ikat, I'll show you an example below), and a painting with a white zig zag pattern on top. I decided to combine the two!
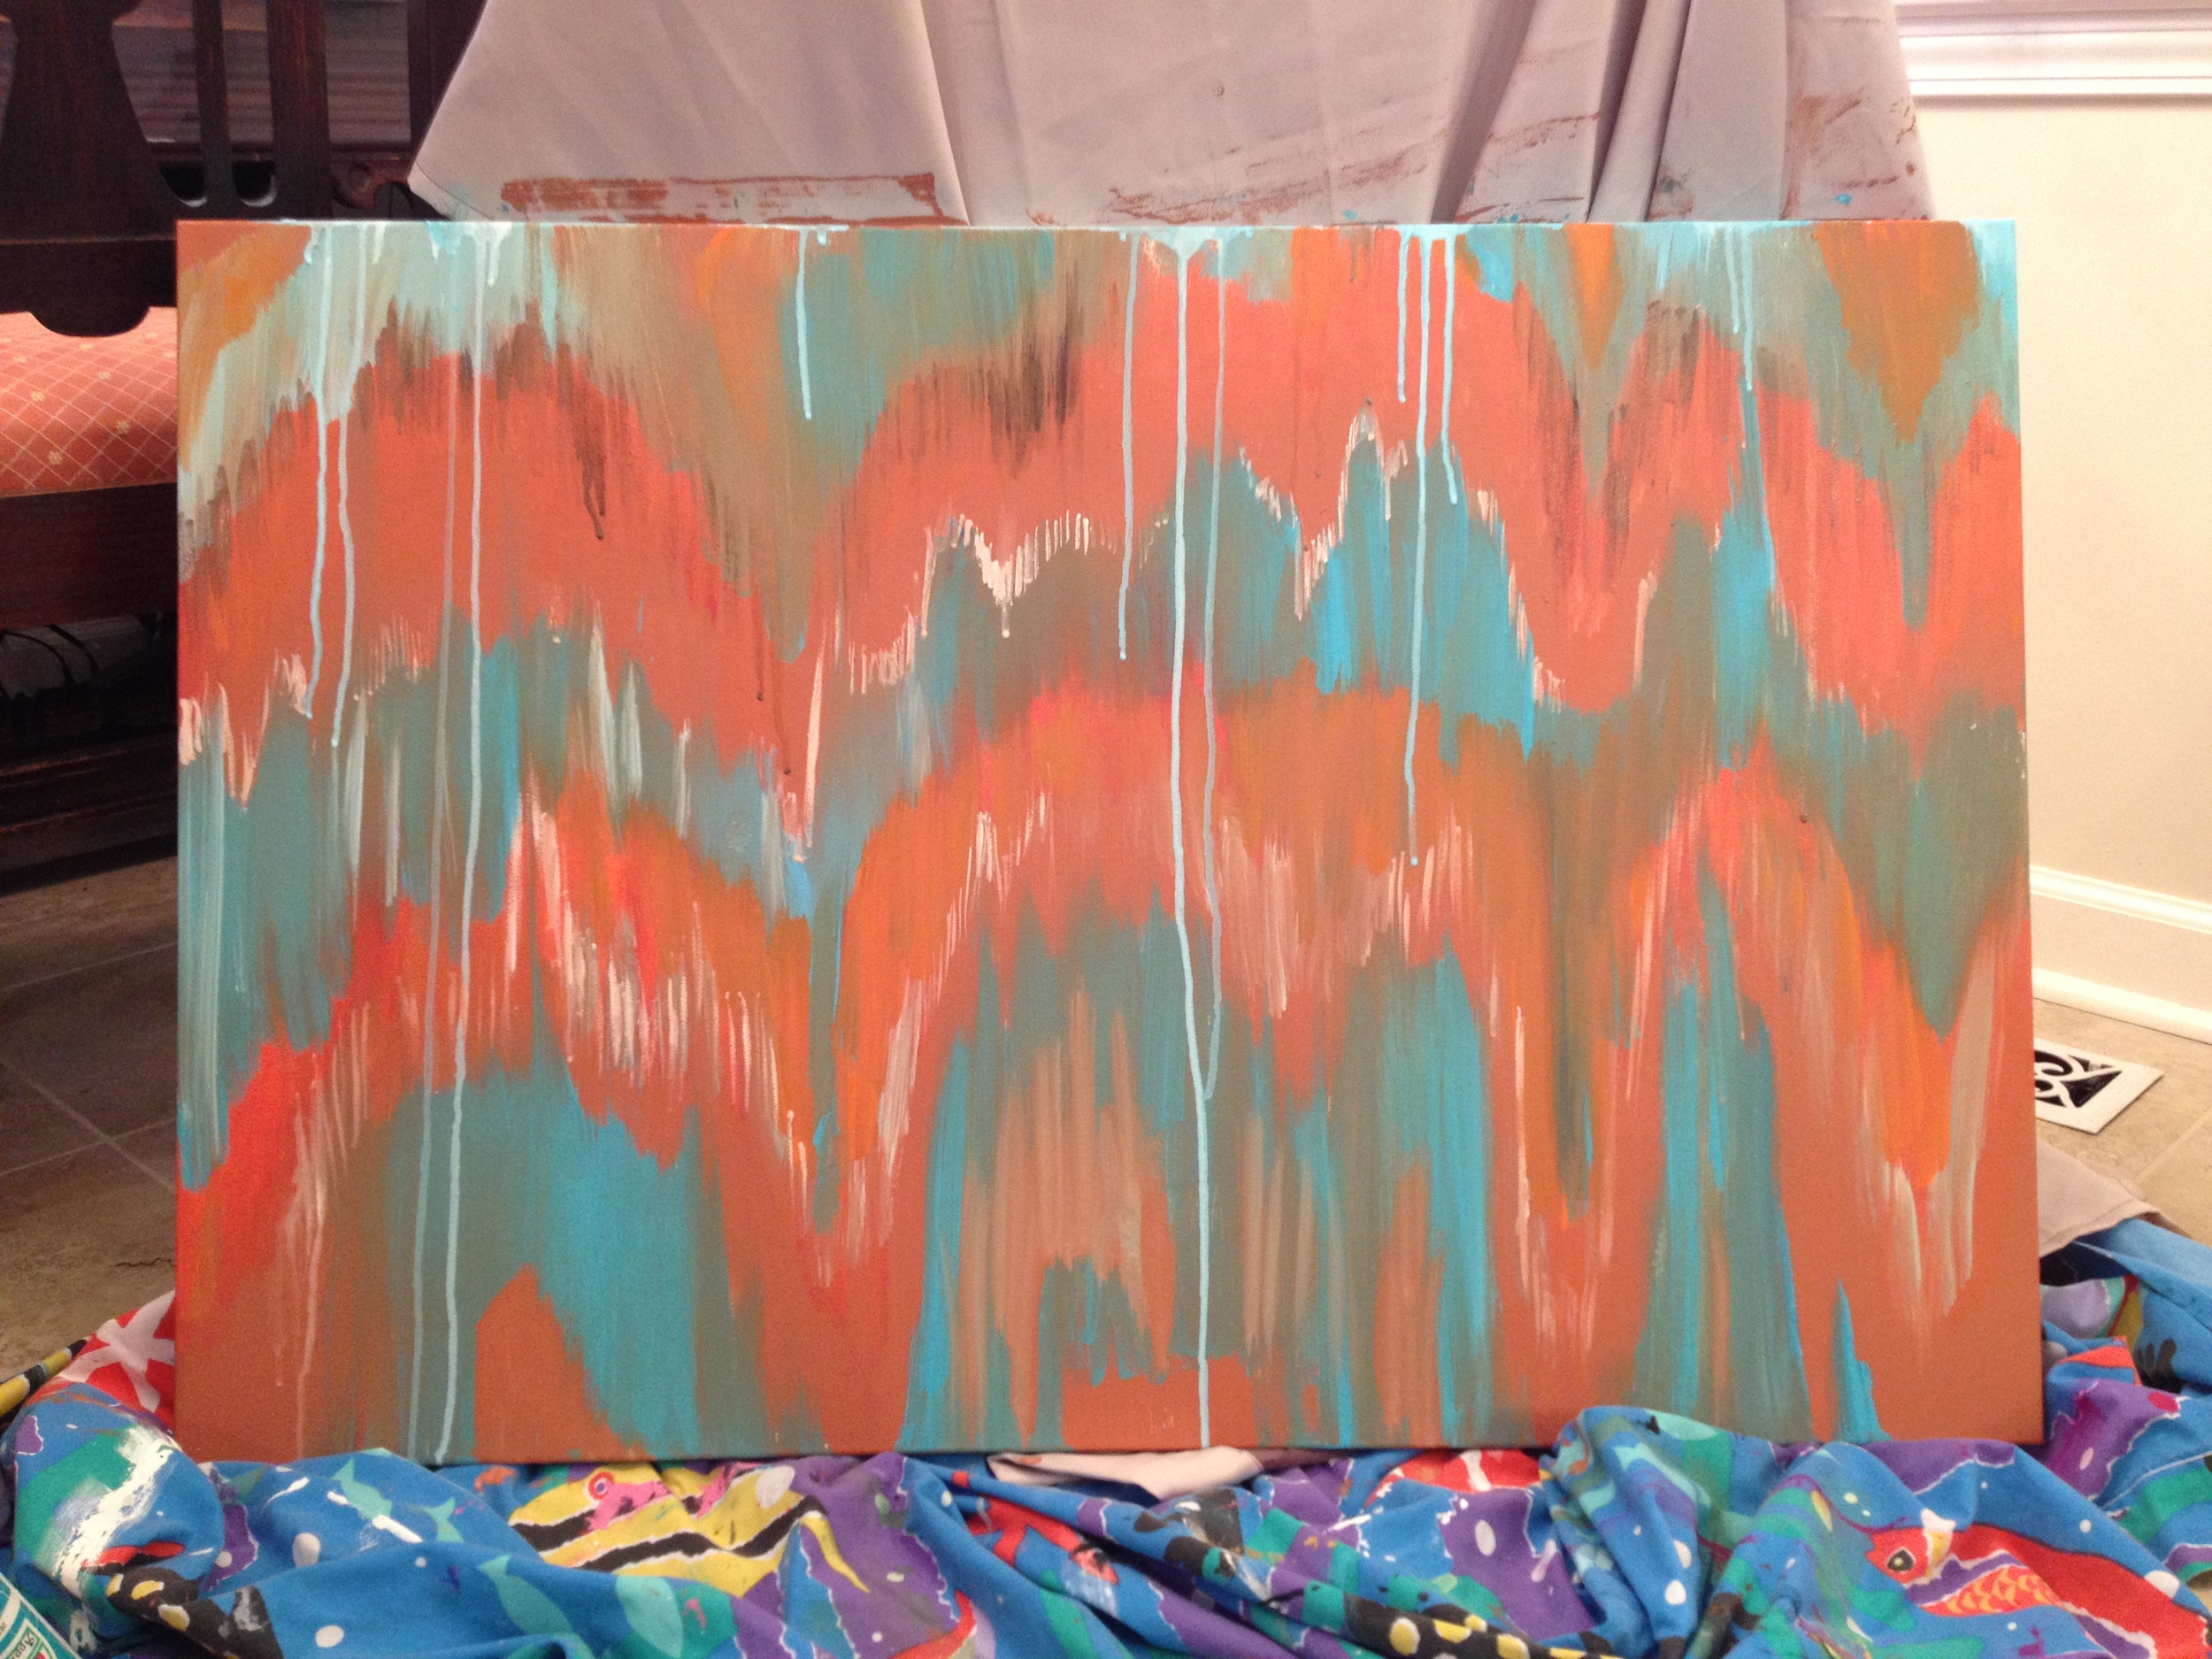
Step Two: Ikat Painting. This was so much fun. West Elm has some stylish Ikat fabric examples and a great blurb about what Ikat is here, calling it hazy, subtle and full of imperfect lines. So, I created hazy, subtle (Ok--my lines were not as subtle) and imperfect lines on my canvas with paint. When your goal is imperfect…you can never mess it up!! I LOVE this part. I just mixed the colors that matched her home and started zigging and zagging my brush.
I did some big strokes and then went back with a smaller brush to do more highlights so there was a bolder transition from the rust to the orange colors. I painted the orange color first. When I went to paint a second line of orange, I made sure to follow the dips of the orange line on top…it makes it look more like a pattern and less random. I also left space for me to fill in other colors like teal and rust.

I love mixing in water with my acrylics and letting it drip down the canvas. So, I added in some dripping to increase the abstract level and for dramatic effect. Honestly, I love the painting at this point. You could stop here or keep going to Step Three….
 Step Three: Zig Zag Pattern. I went ahead and created a chevron pattern with chalk and then connected the lines to create bricks/boxes. I used chalk because I could easily wipe off the chalk lines and wouldn't have to erase anything. It worked out great. I do a step by step chevron tutorial here. Below you can see how the chevron pattern formed and finally where I drew the lines to create the boxes to make up the zig zag pattern.
I first draw out my grid (fyi...these are not the final bricks/boxes you will see later):
 I then make diagonal lines in each column, alternating the angle every other column. You can see the chevron pattern appearing below. You want to carry that out throughout the entire canvas.
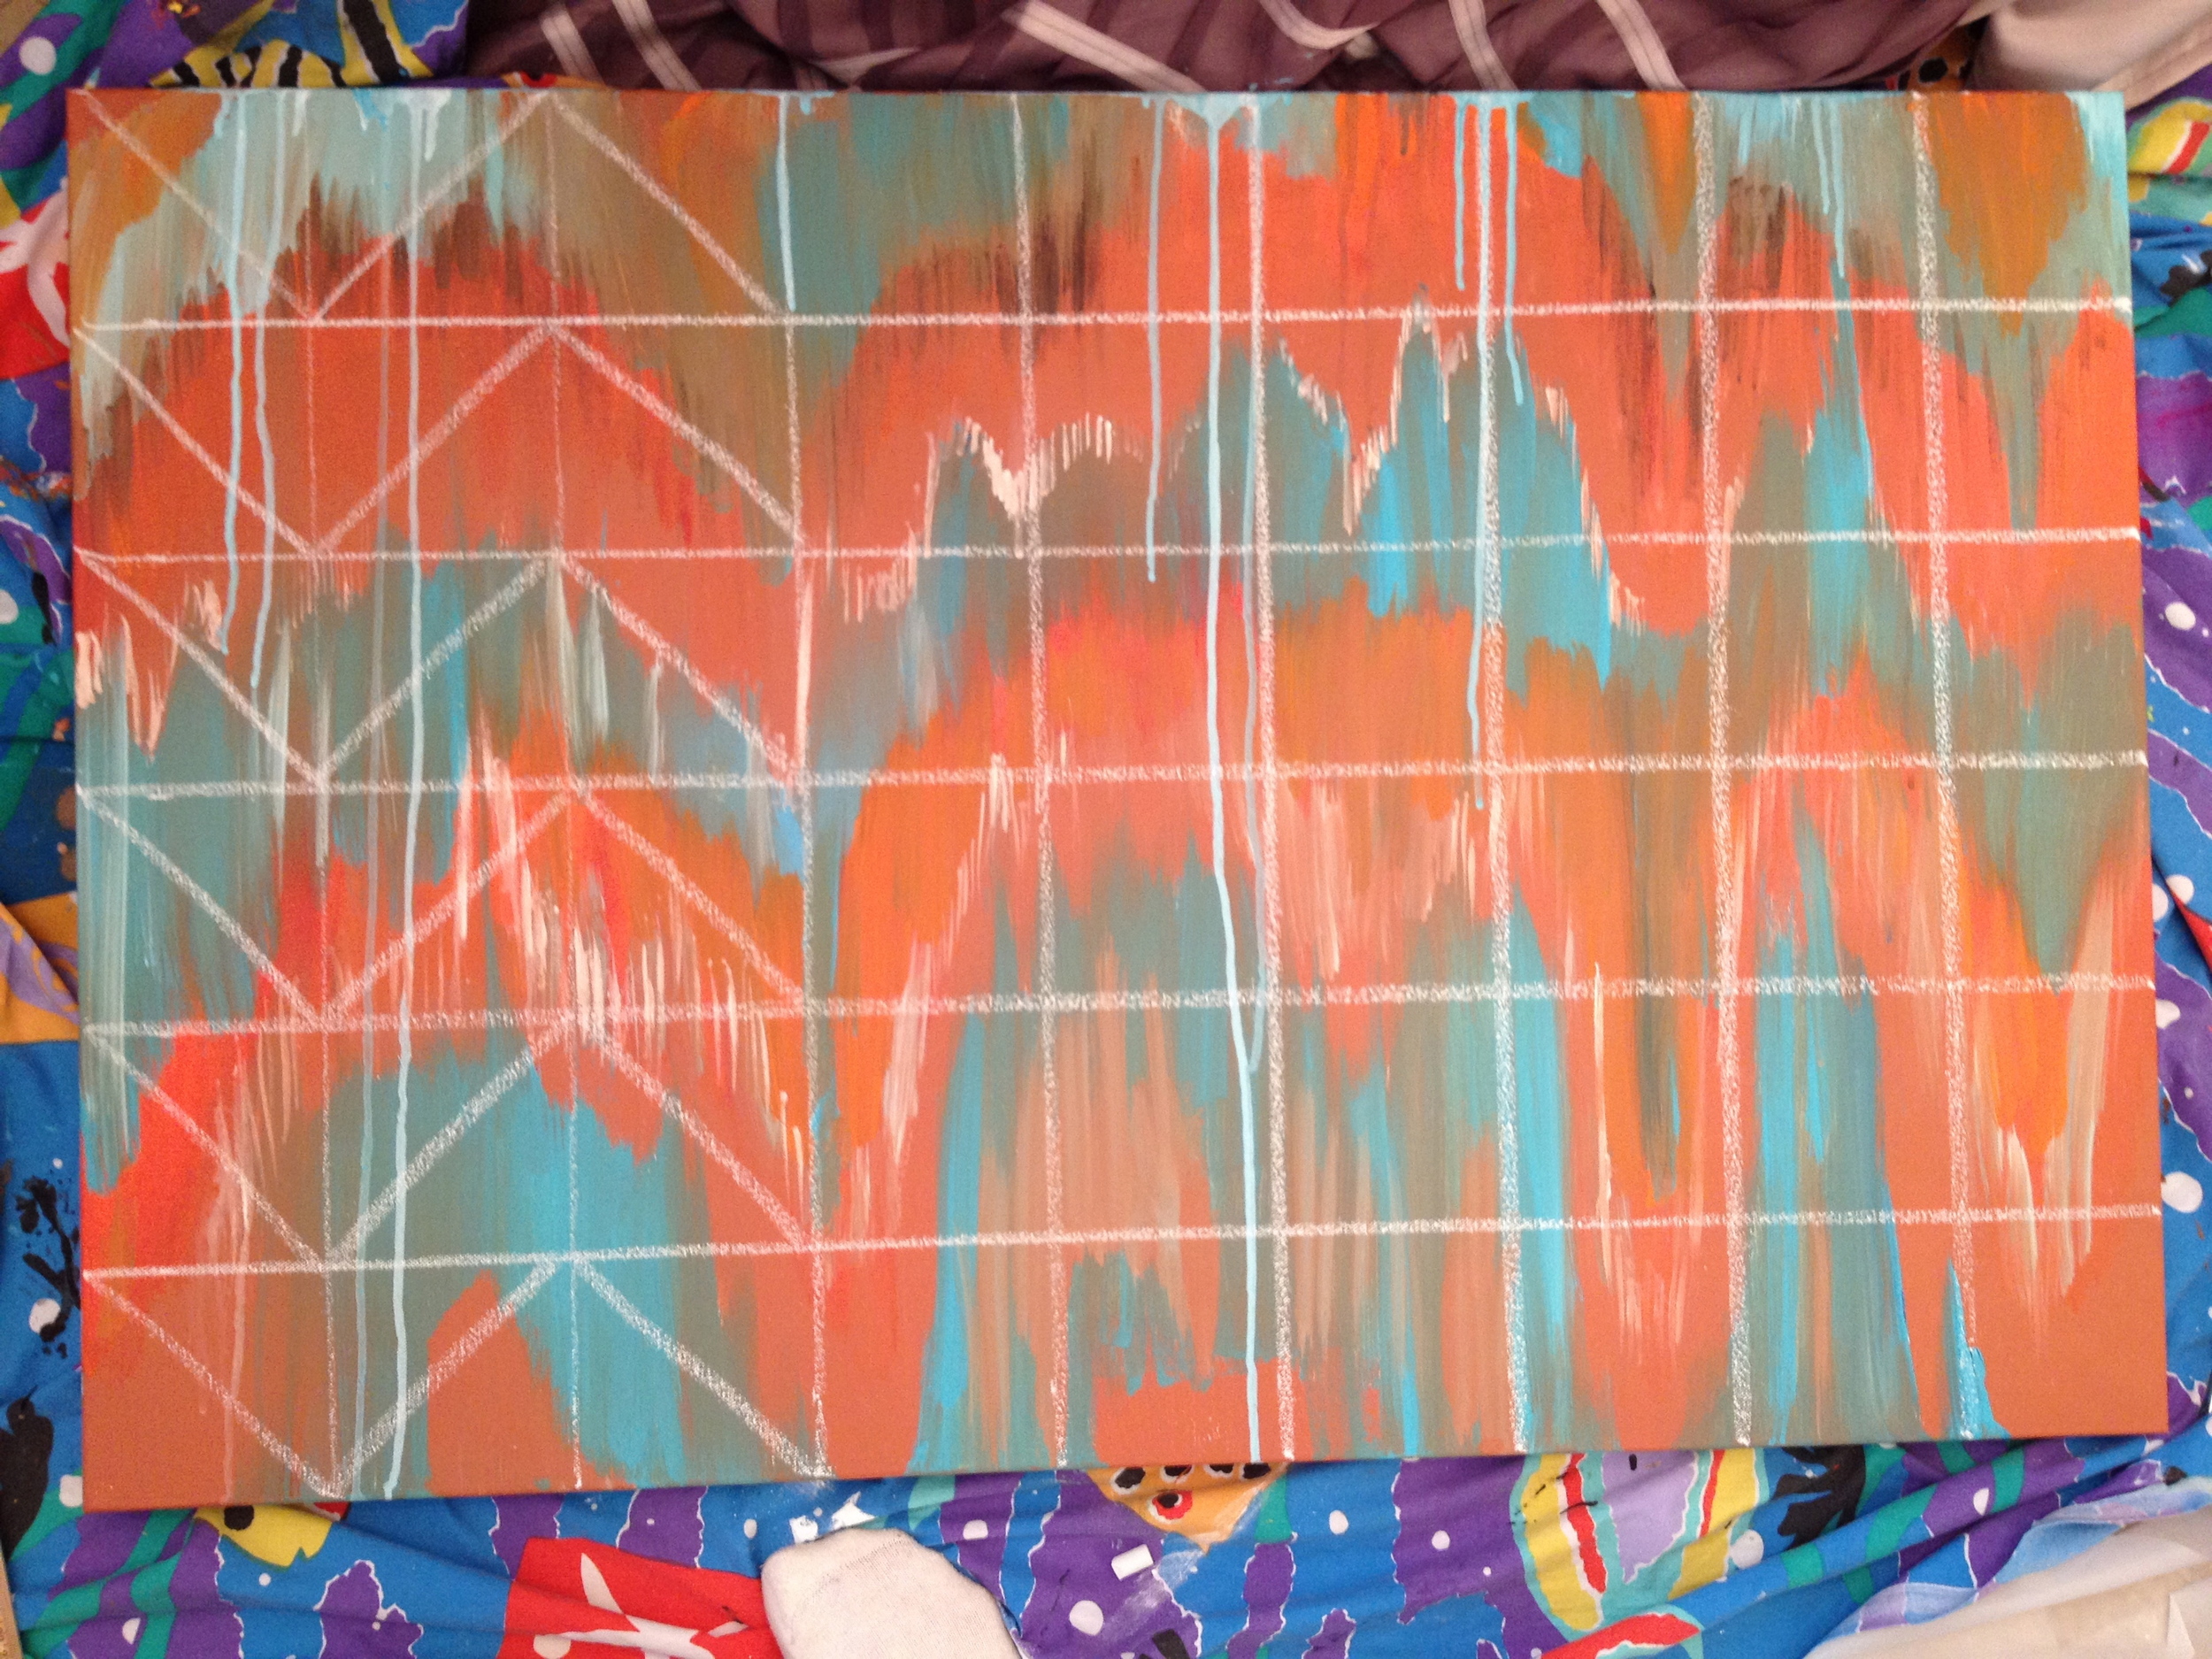
Next comes the tricky part! I connect the lines to create what looks like bricks. It is much easier to understand in images, but basically, I carried a line to "cut into" the chevron pattern. When the chevron created a "v" I took the right line of the "v", continued it, and carried it down to meet the line below it. Take a look at the following picture. My lines are not perfect, so don't stress over making everything the same! It is abstract art!
Step Four: The White Lines. Now that you have your bricks/boxes drawn, outline them in white! Do not outline the vertical and horizontal lines you drew (aka the grid). If there are too many lines confusing you at this point, take your time and remove the vertical and horizontal chalk lines. Since its chalk, its easy to remove..even just a dab of water on a paper towel will work. 
Step 5: Fill in some boxes. Pick a few of the boxes and simply fill them in with white paint. Make sure to pick boxes all around the canvas. 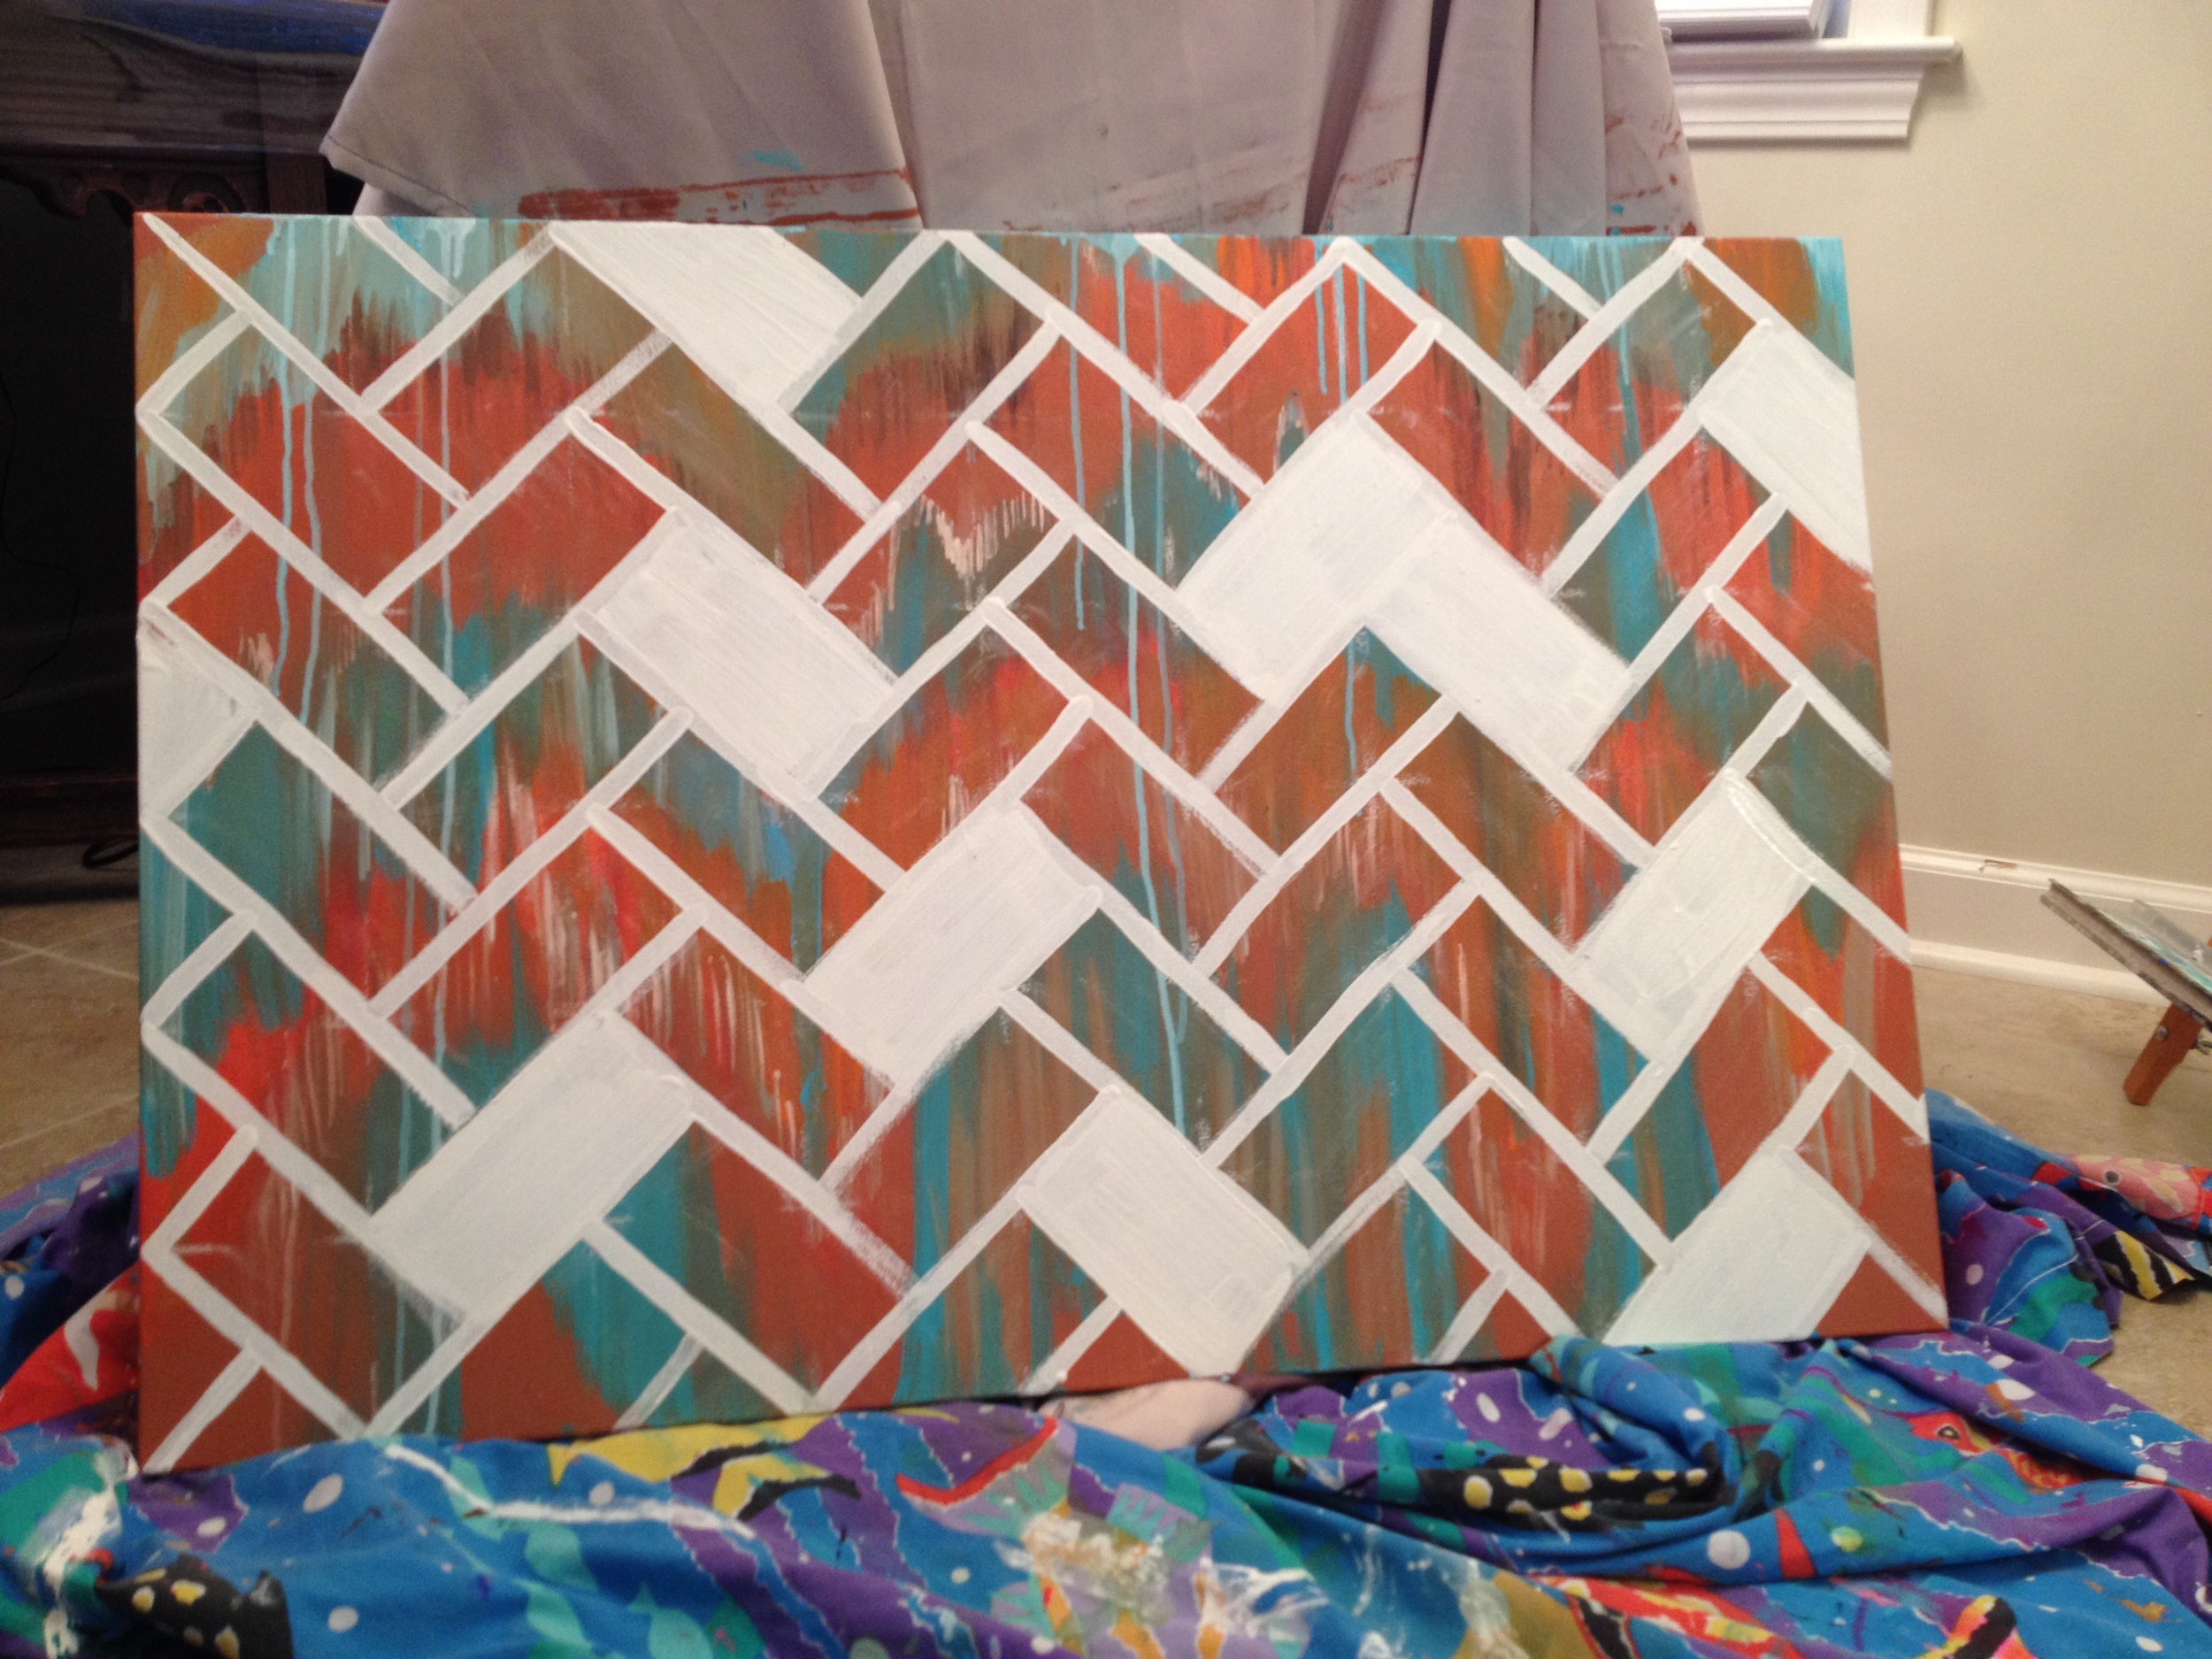
Step 6: Write your verse or quote or nothing at all! After discussing with my client, we decided to have the verse going along one of the bottom zig zags. I drew the verse out in pencil first and painted over it in black. 

Step 7: Your Painting is Finish! You can deliver it or keep it for yourself. Have fun and enjoy your new abstract painting!

My lovely client with her new painting!
Creating Custom Flower Paintings
I love creating one of a kind custom artwork for my clients! A recent client asked me to do a large flower painting to go over her fireplace. Together, we created a piece that fit her space, style, and needs perfectly. She loved the paintings and I love how they look in her house! Following are some of the steps I took in painting "White Lilies" for her, including how it looks over her fireplace. To Start: She gave me the measurements of the area above her fireplace along with some inspiration pictures and color choices she preferred. We discussed the different canvas options and sizes that would fit in her space best. She choose to do a joining image across two canvases. My client's inspiration pictures had some modern geometric shapes in them, so I choose to place circles in the background. She choose white lilies for the subject. Taking the size and shape of the canvases into account, I decided to do multiple lilies across the canvases.
Going Digital: When I am able, I love to create a digital image of the piece I will be working on. I can zoom in and focus my eye on the details as well as get a good idea of what the final product will look like.
Sketch It Out: Next, I sketched out the design onto the two canvases. This is a sketch of canvas #1.

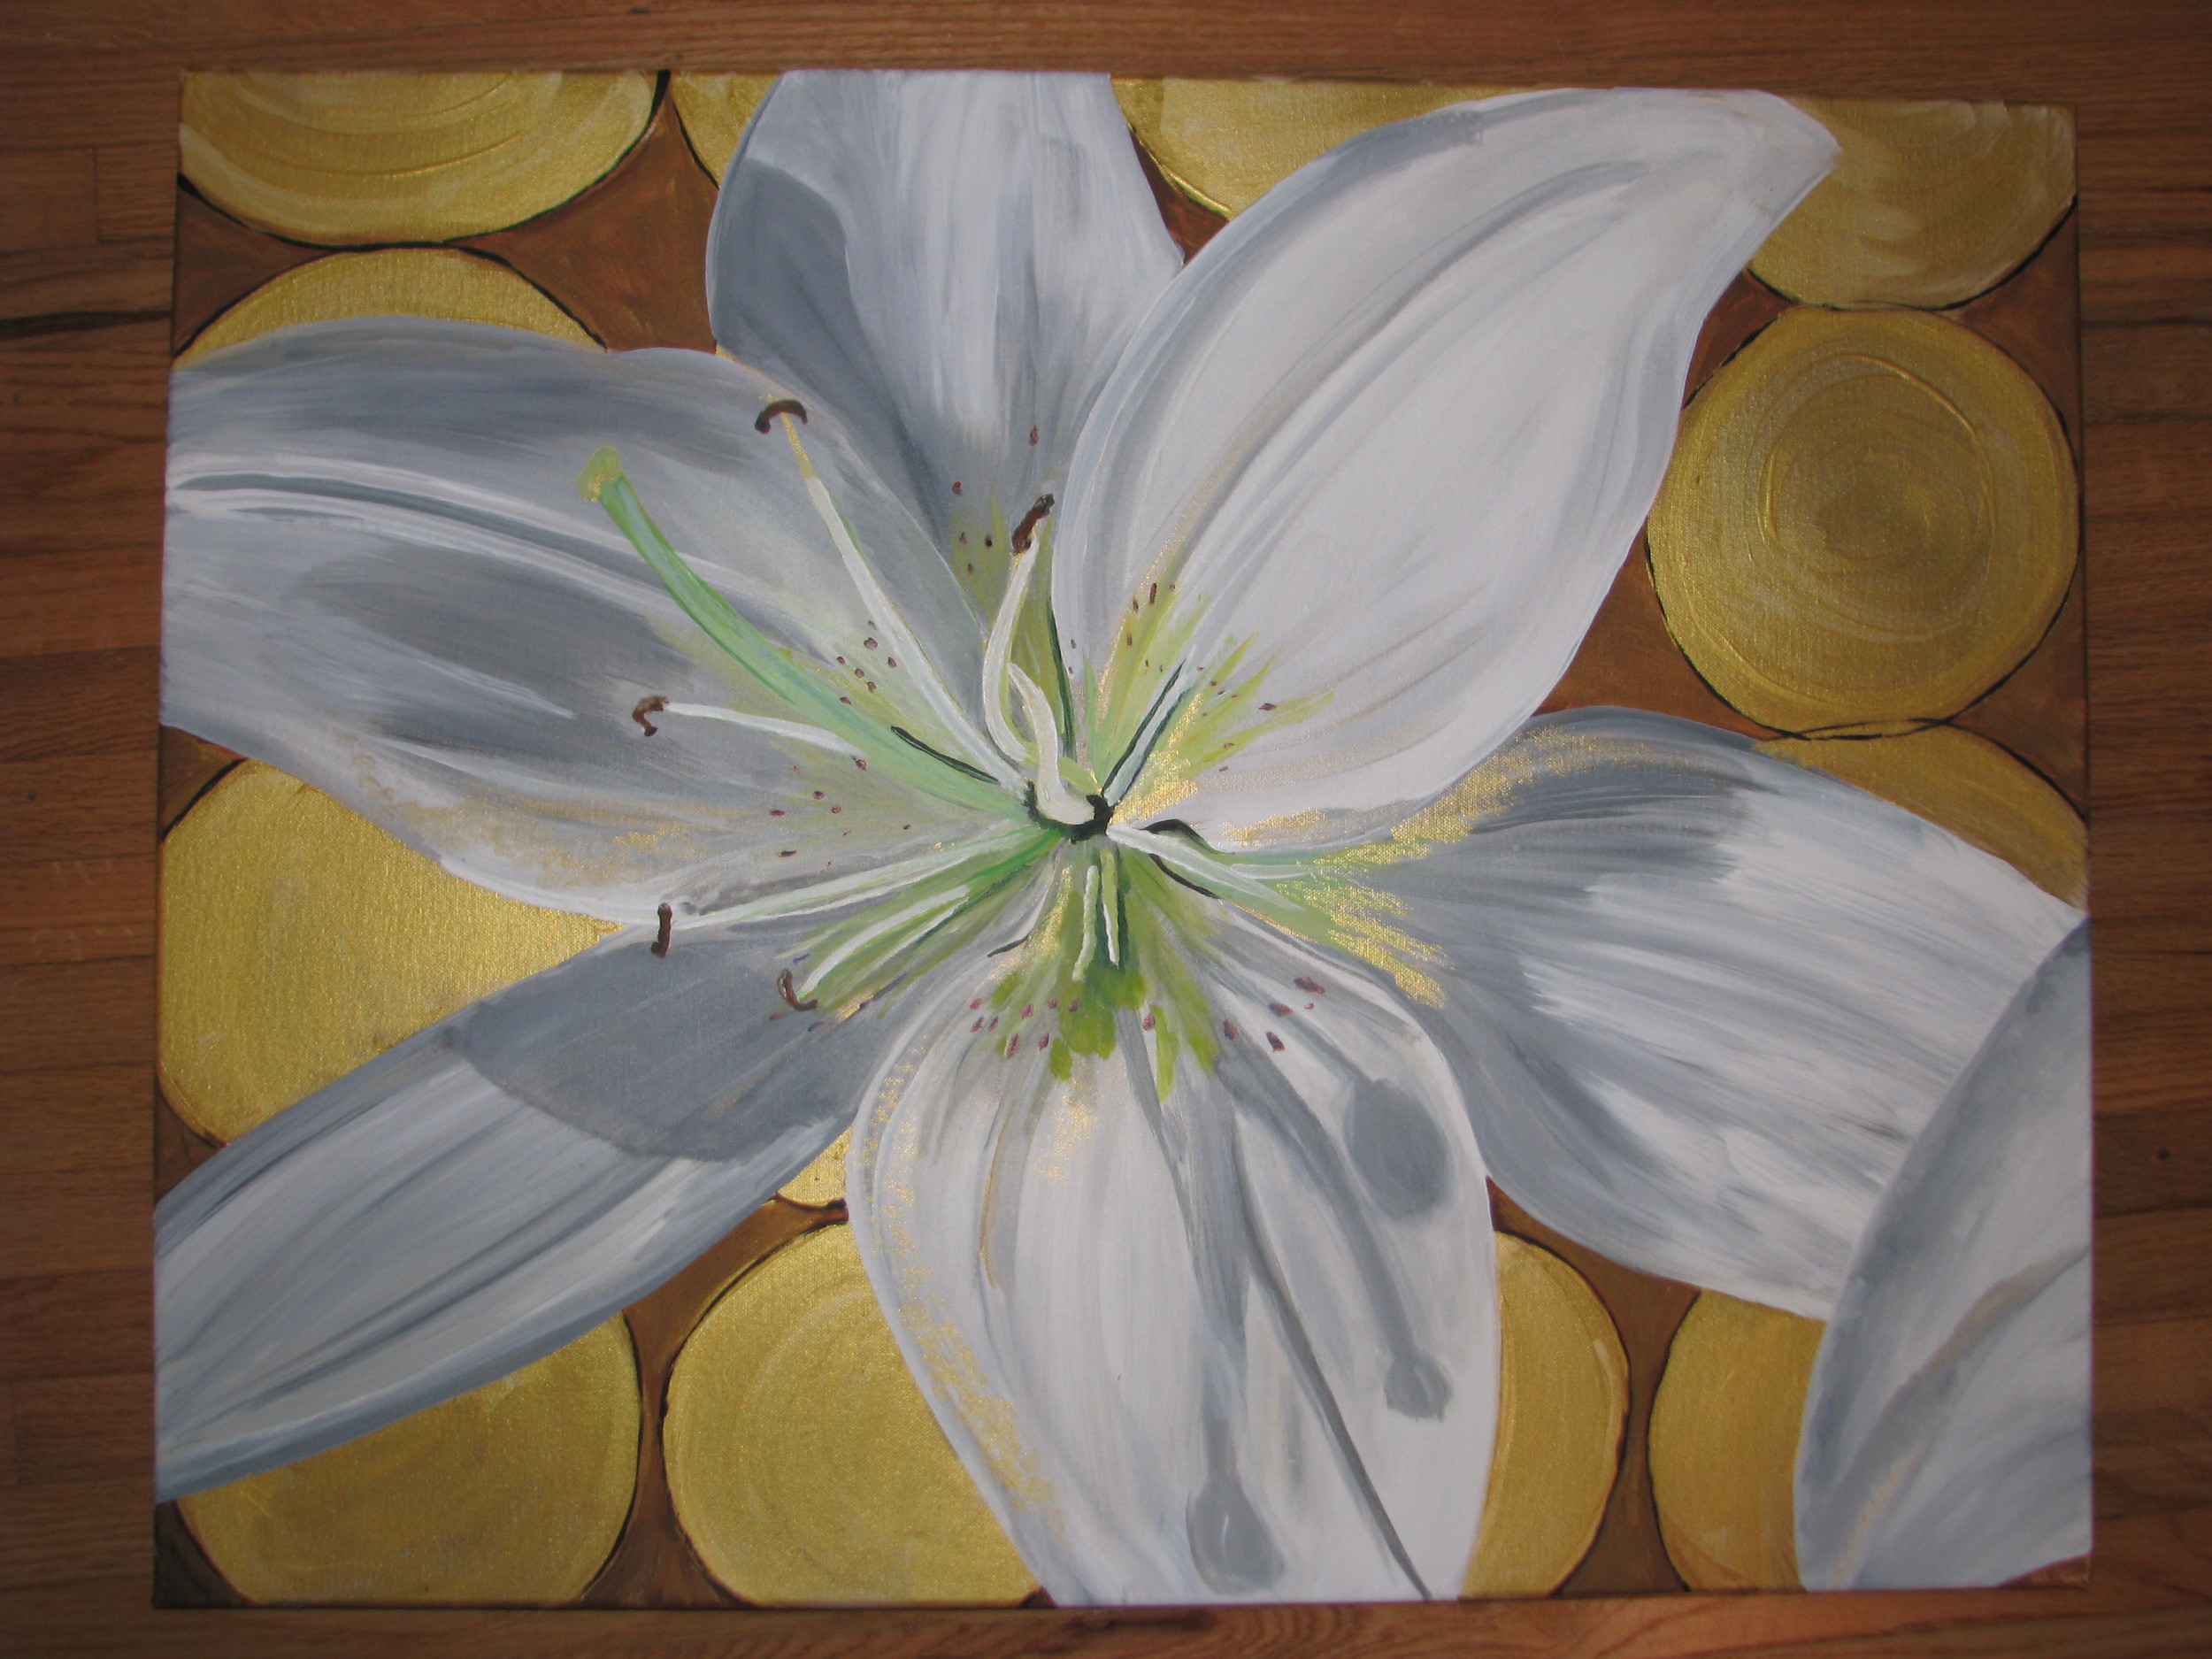
Paint: Once the sketch is done, it is time to paint, aka…the fun part! Gold was one of the colors from her inspiration photos, and I had just used this great new gold paint on a previous flower painting (you can read about the modern white carpet flowers here; scroll down to step #4 for the paint info), so I decided to add it into this one as well. This is an almost-finished canvas #2.

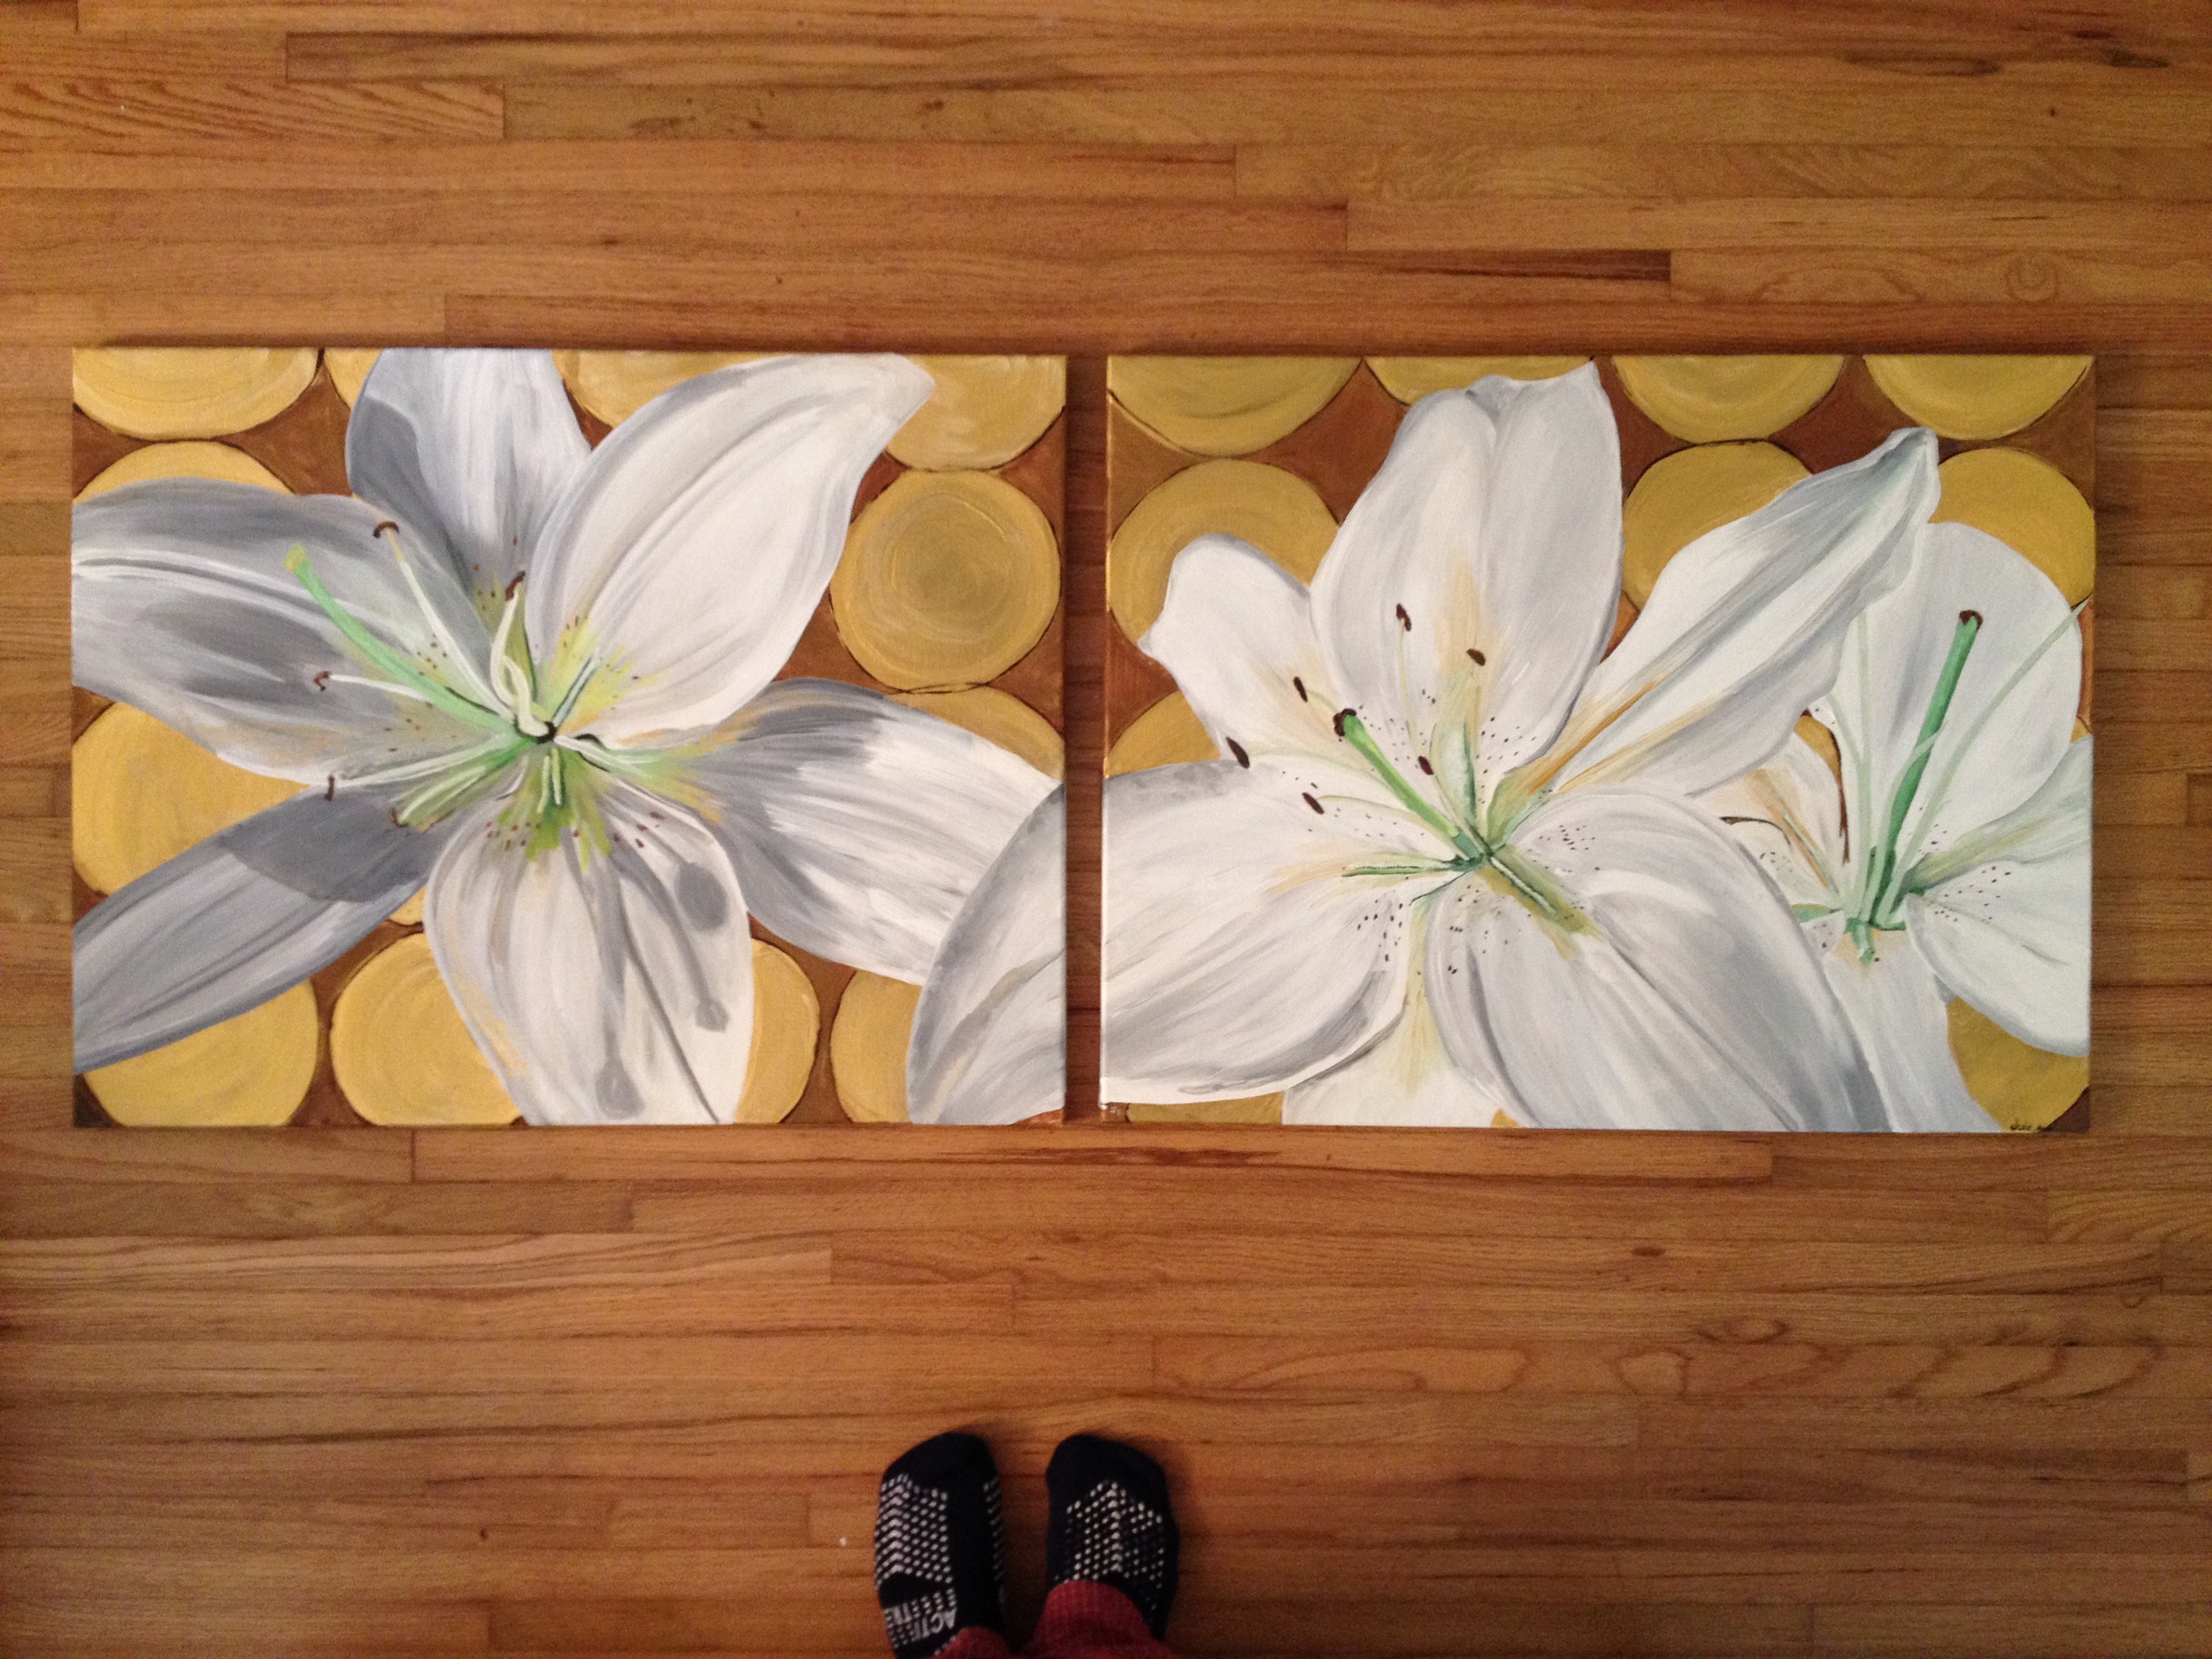
Putting it all together: When the paintings are finished, they are ready to be together! It is really a fun moment for me when I get to set them side by side and see the whole completed look.
Here is canvas #1 finished:
Here is canvas #2 finished:
 Here they are together (and my feet make an appearance as well):
Send them off: So, far I have packaged all of my finished paintings myself. I go through a lot of bubble wrap, and a whole lot of tape, but all of my paintings arrive safe and sound!! They may not look pretty at this point in the process, but they are definitely secure! : D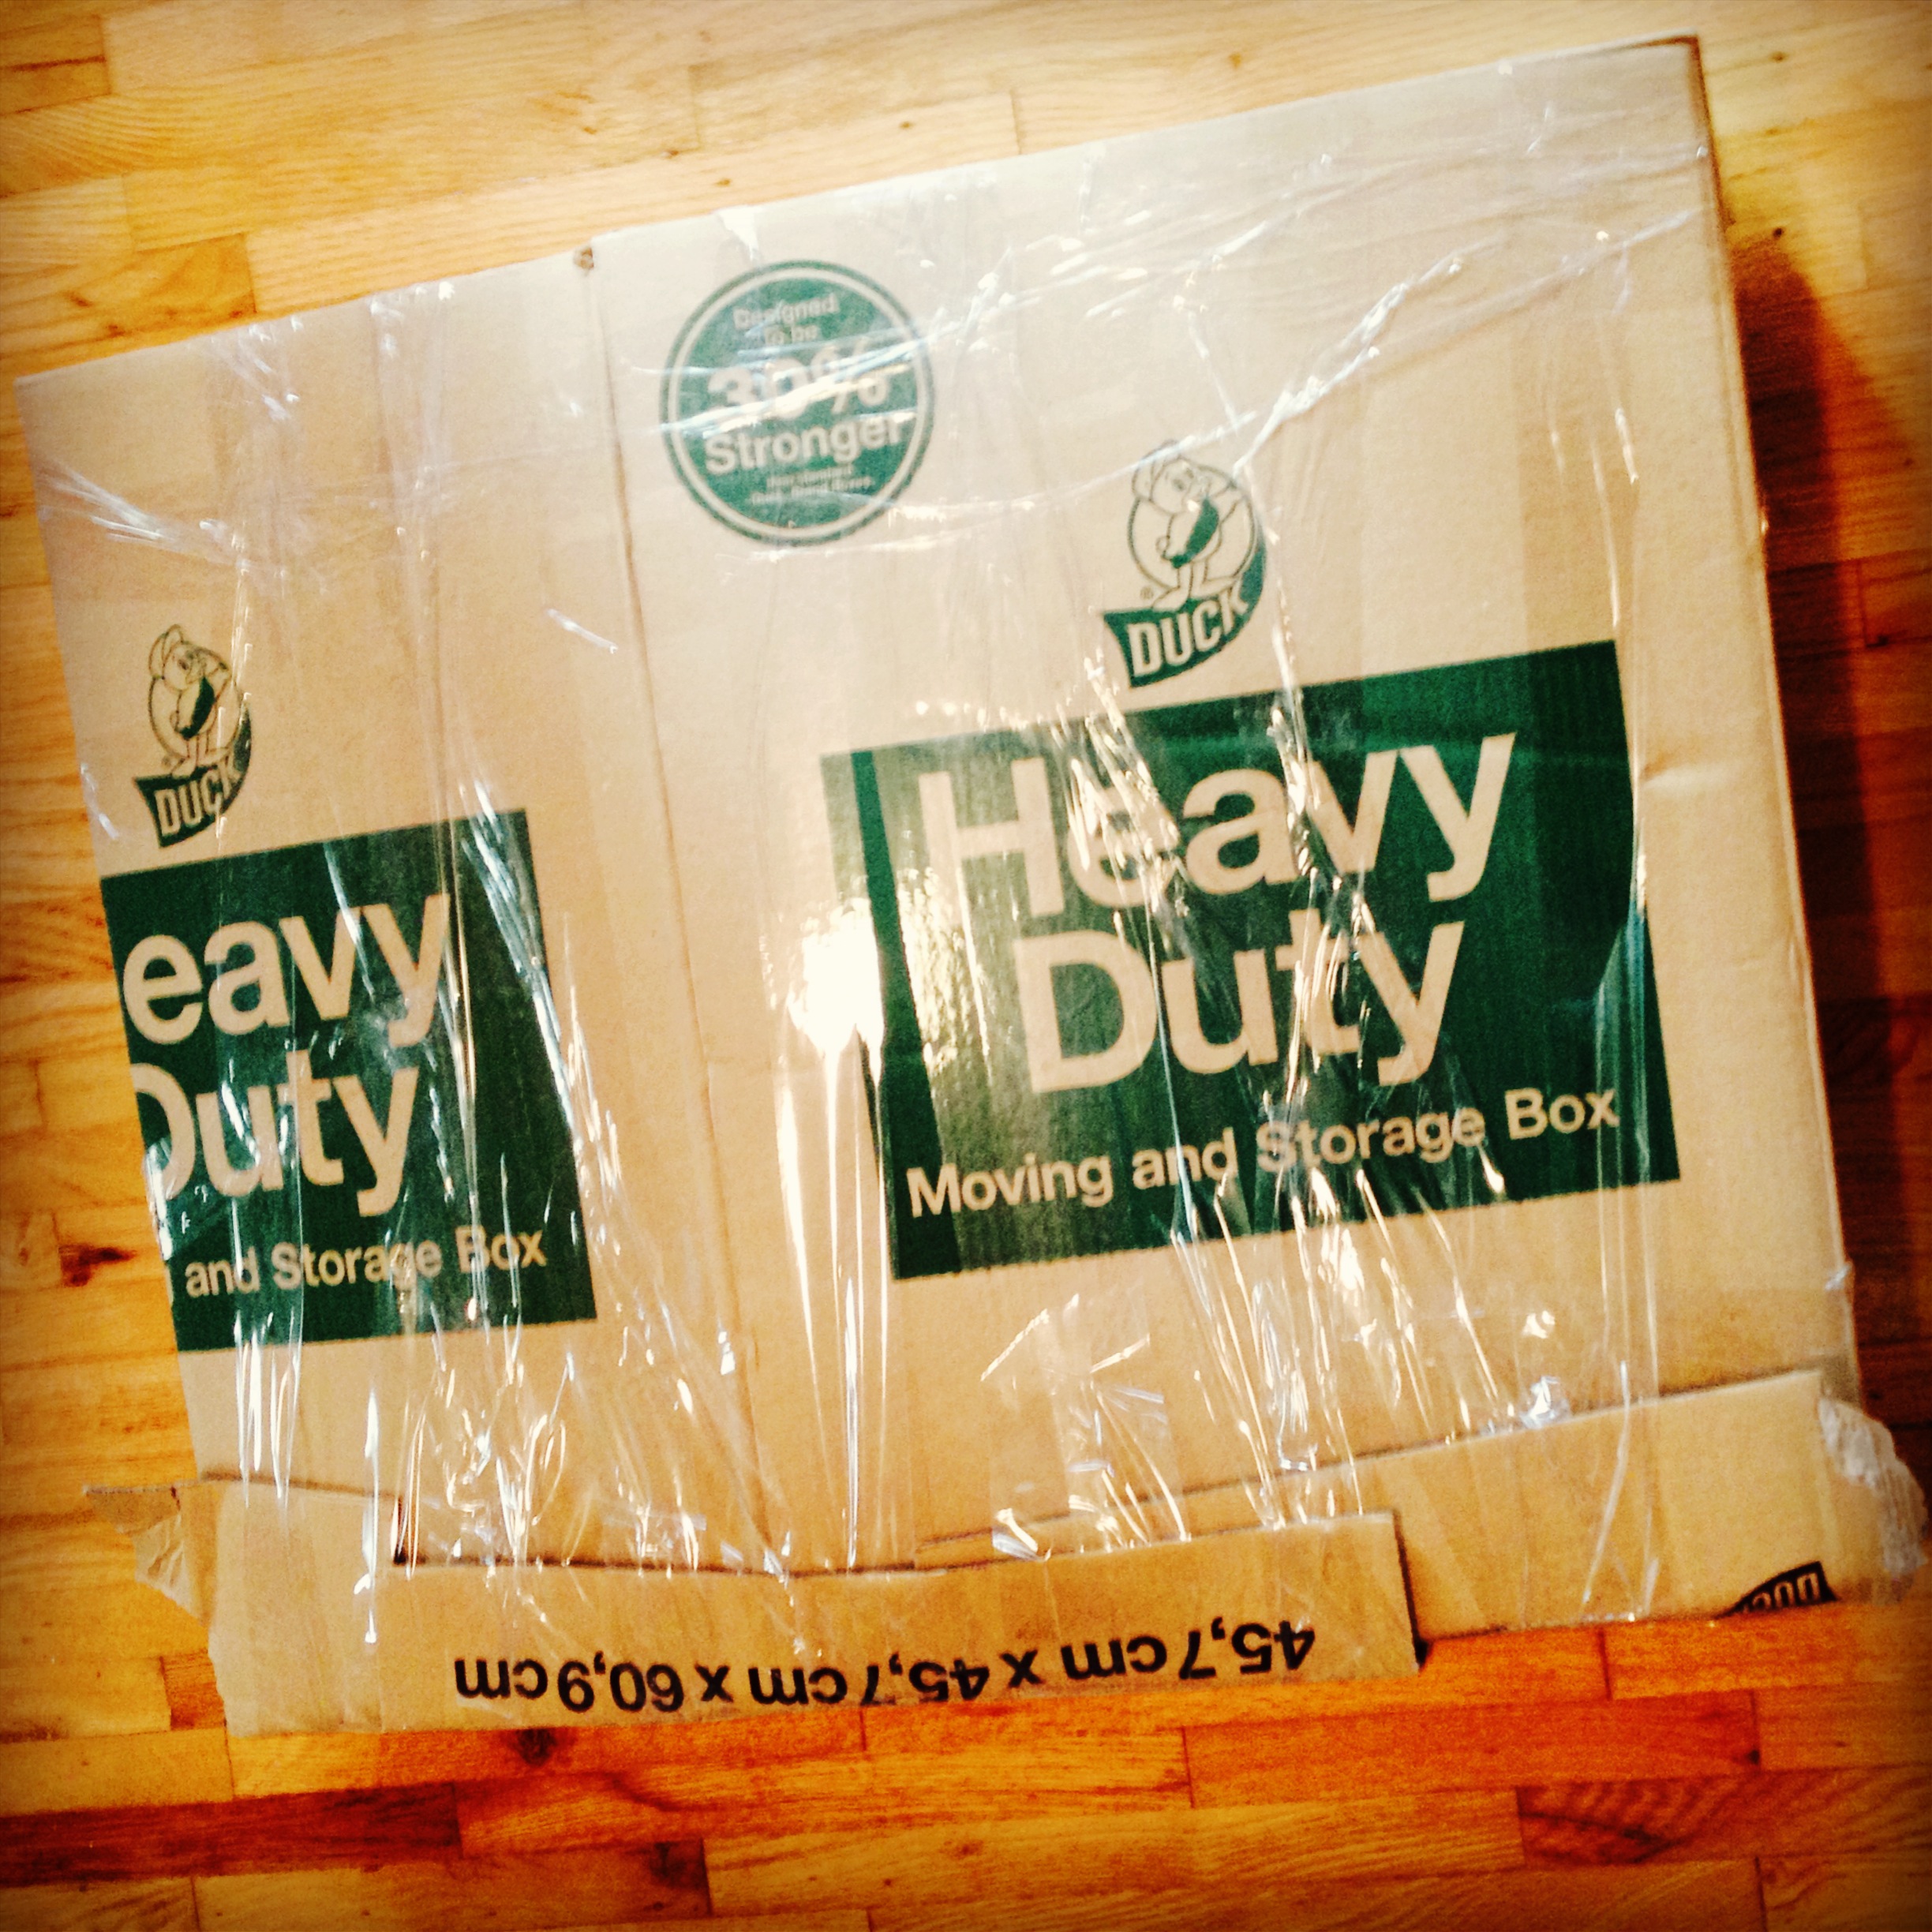
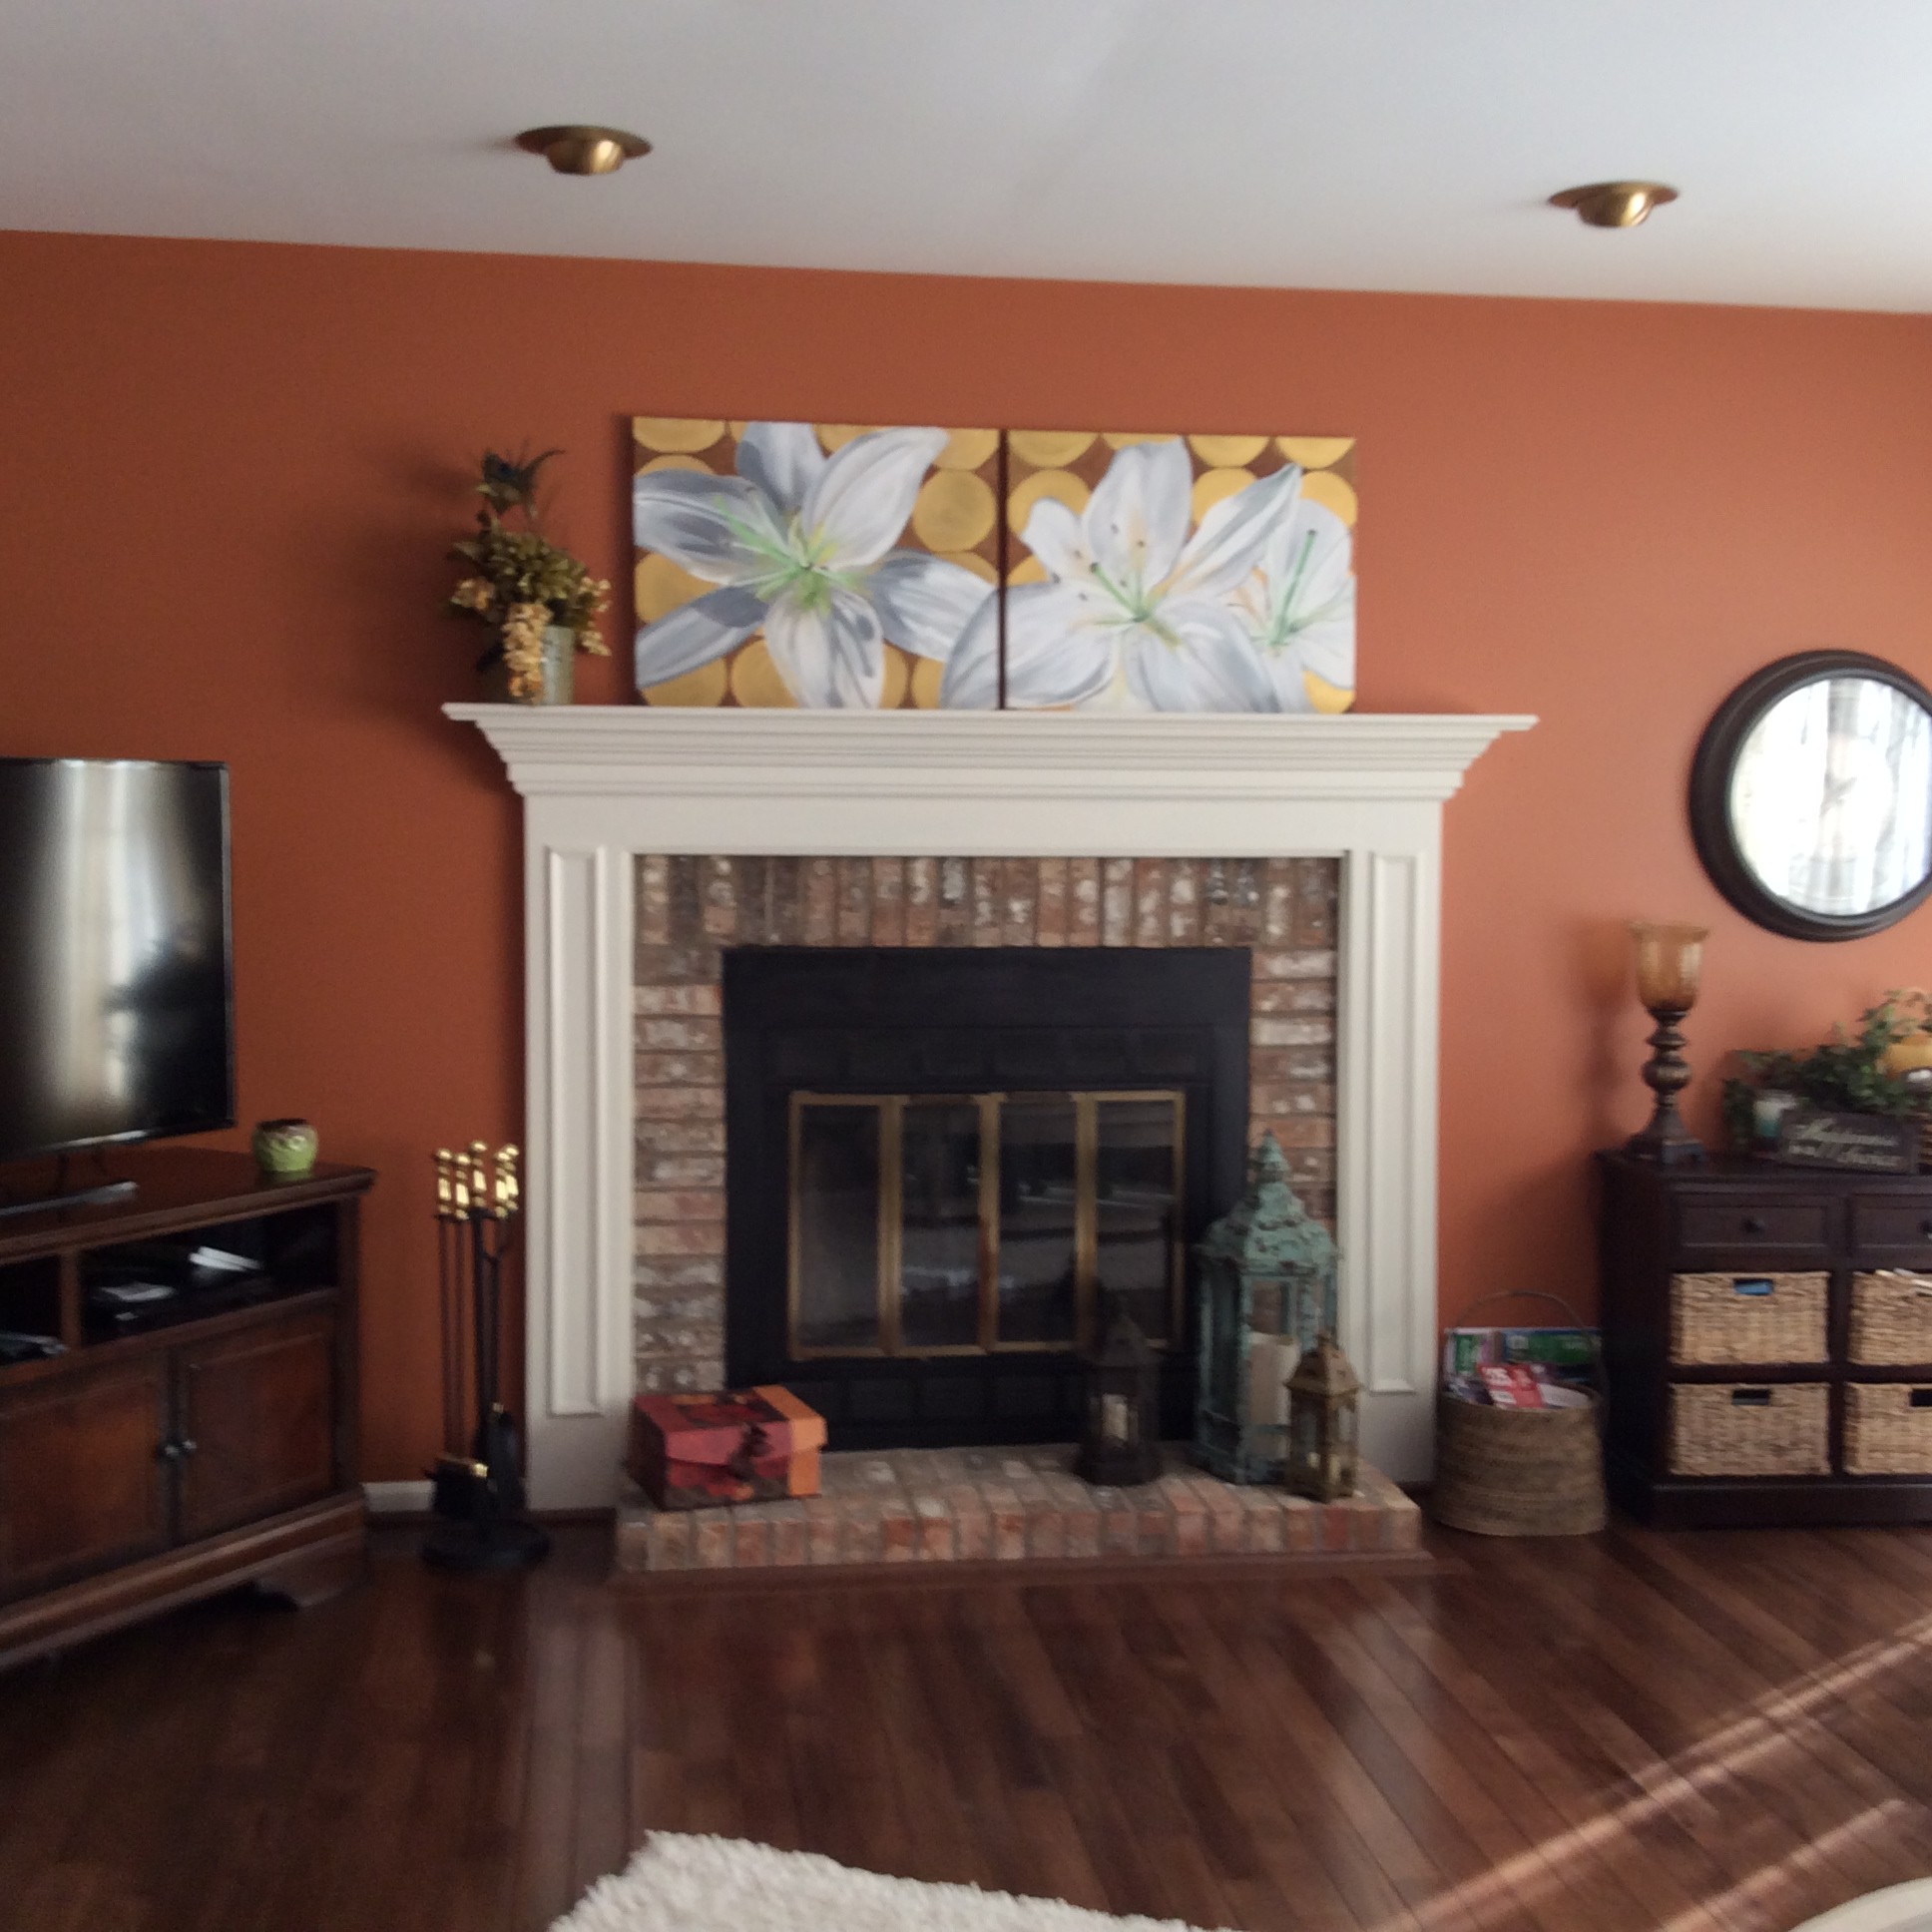
Hanging in the Client's House: My favorite part..by far!!! I love getting feedback from my clients and seeing where their artwork is hanging! My client was so happy with her piece, and that is the perfect ending to any creation process for me!!


Happy Martin Luther King Jr. Day!
I have been wanting to paint a pretty quote for a while now. I stumbled upon Hebrews 6:19 in my sermon notes yesterday and thought it was a great verse to paint. "We have this hope as an anchor for the soul, firm and secure…" It also fits my current collection of sailboats I have been painting for clients. And it just so happens that Hope is the perfect theme for today, as it is MLK Jr Day! He said “We must accept finite disappointment, but never lose infinite hope.” You can purchase this canvas on Etsy!
 8" x 10" acrylic on wrapped gallery canvas